Welcome everyone to a new Gimp tutorial: today you will learn how to write with a Star Wars style text effect.
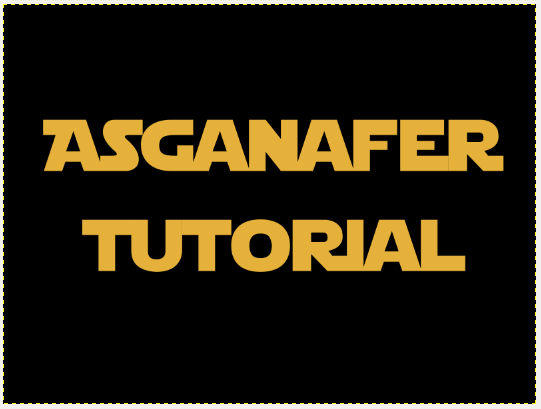
As first step, download the Star Wars font from here, then create an image with a black background, set #fdca5d as primary color and write the text you want.
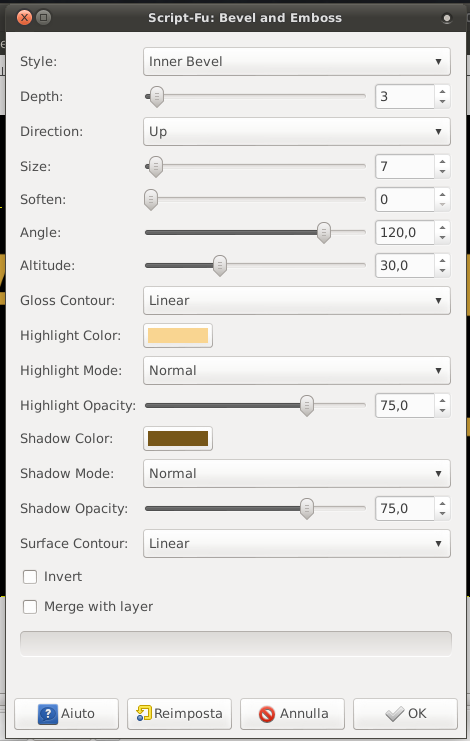
Now click on Script-Fu —> Layer effect —>Bevel and Emboss with the writing layer active. A window will open: set #f9d591 and #775719 as colors. Configure the other options as in the image below:
At this point, create a folder in which inserting both the writing and the shadows layers. Then right – click —> Alpha a selection to select the whole writing.
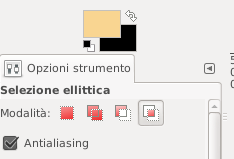
Select the elliptic selectin tool and change the mode clicking on the fourth icon (you can change it in tool options).
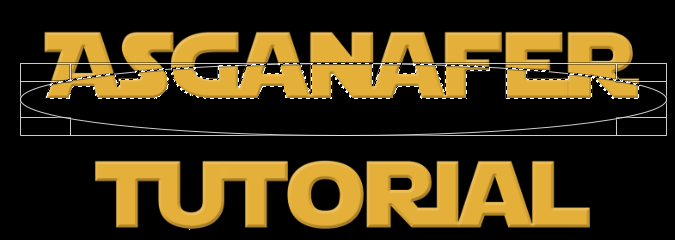
Now select the lower part of the first line of the writing and it will be selected in this way:
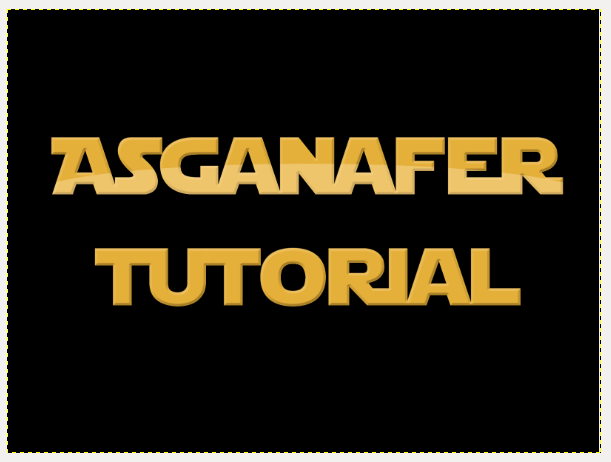
Create a new layer called “blur” and fill the selection with #ffe5b3 color using the color filling tool. Then change opacity to 40.
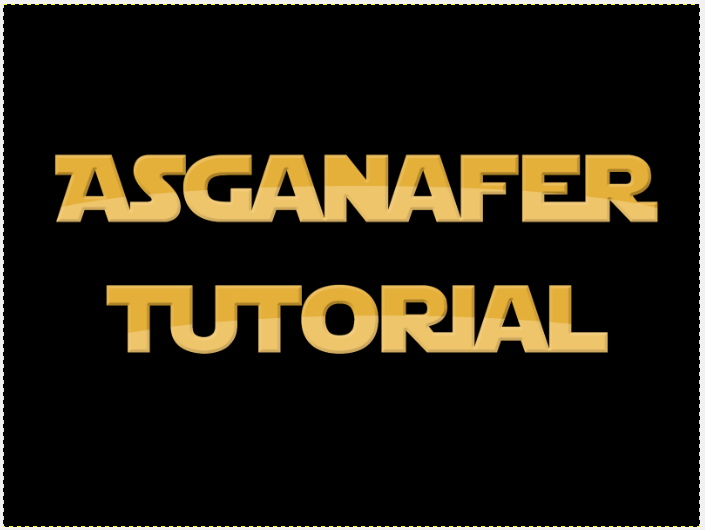
Repeat the same procedure for the second line of the writing.
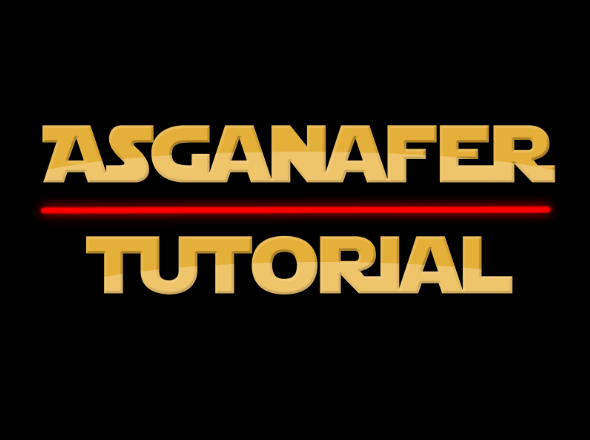
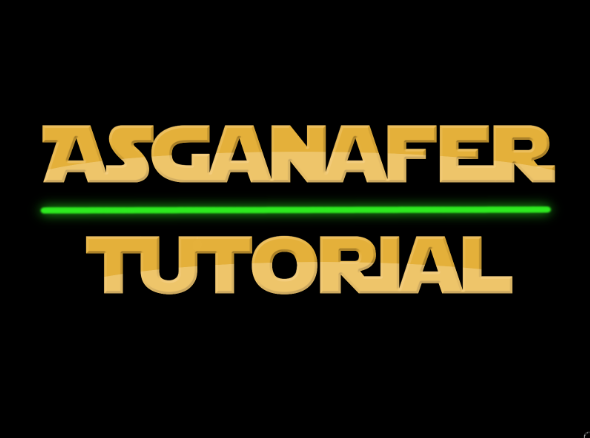
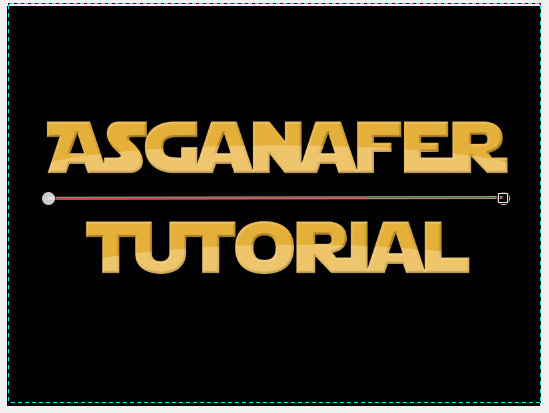
It’s time to draw a lightsaber in the centre of the image! First select brush tool and choose the brush “2. Hardness 050” (a Gimp delfault brush) and set size to 26px. Then select the color you prefer: red= #ff0000; blue=#54d5cd; green=#2eea20). Select the path tool and trace a line between the two writings.
Create a new layer called “blue laser” and click on Modifica—> Sketch path, configure the settings in the image below:
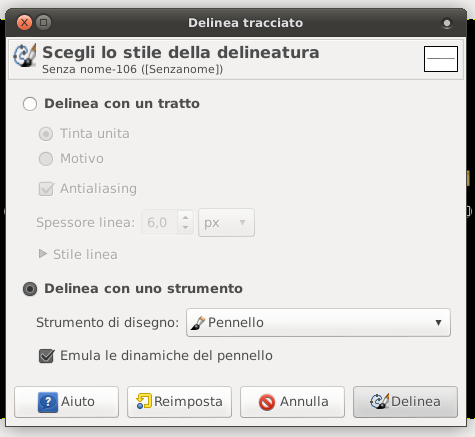
Create a line with the brush (size, color and mode as set previously). Then duplicate the laser beam layer and click on Filters—>Blur–> Gaussiana with blur range to 50.
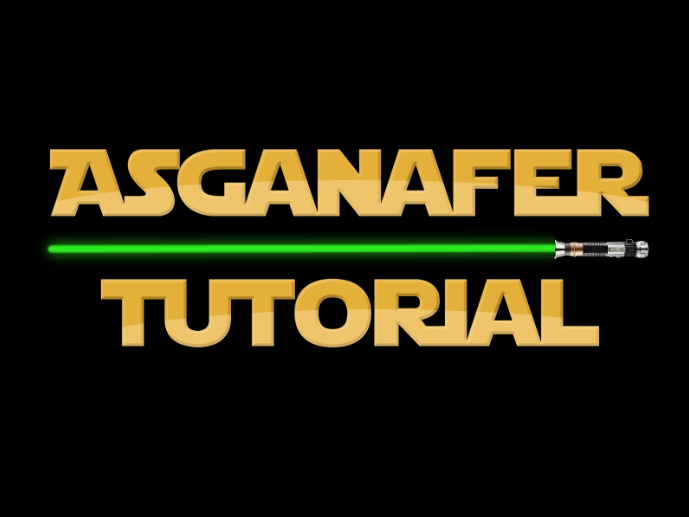
This is the image you will get:

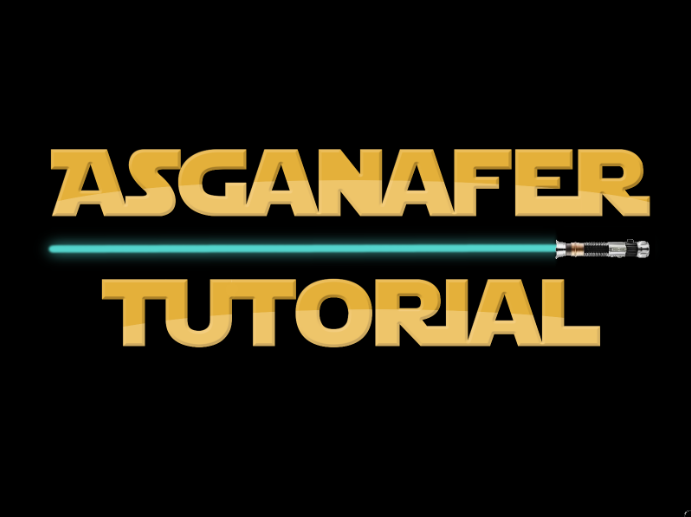
But this is only an example. You can create many other effects like these below: