Hello everybody and welcome to this new tutorial! 🙂
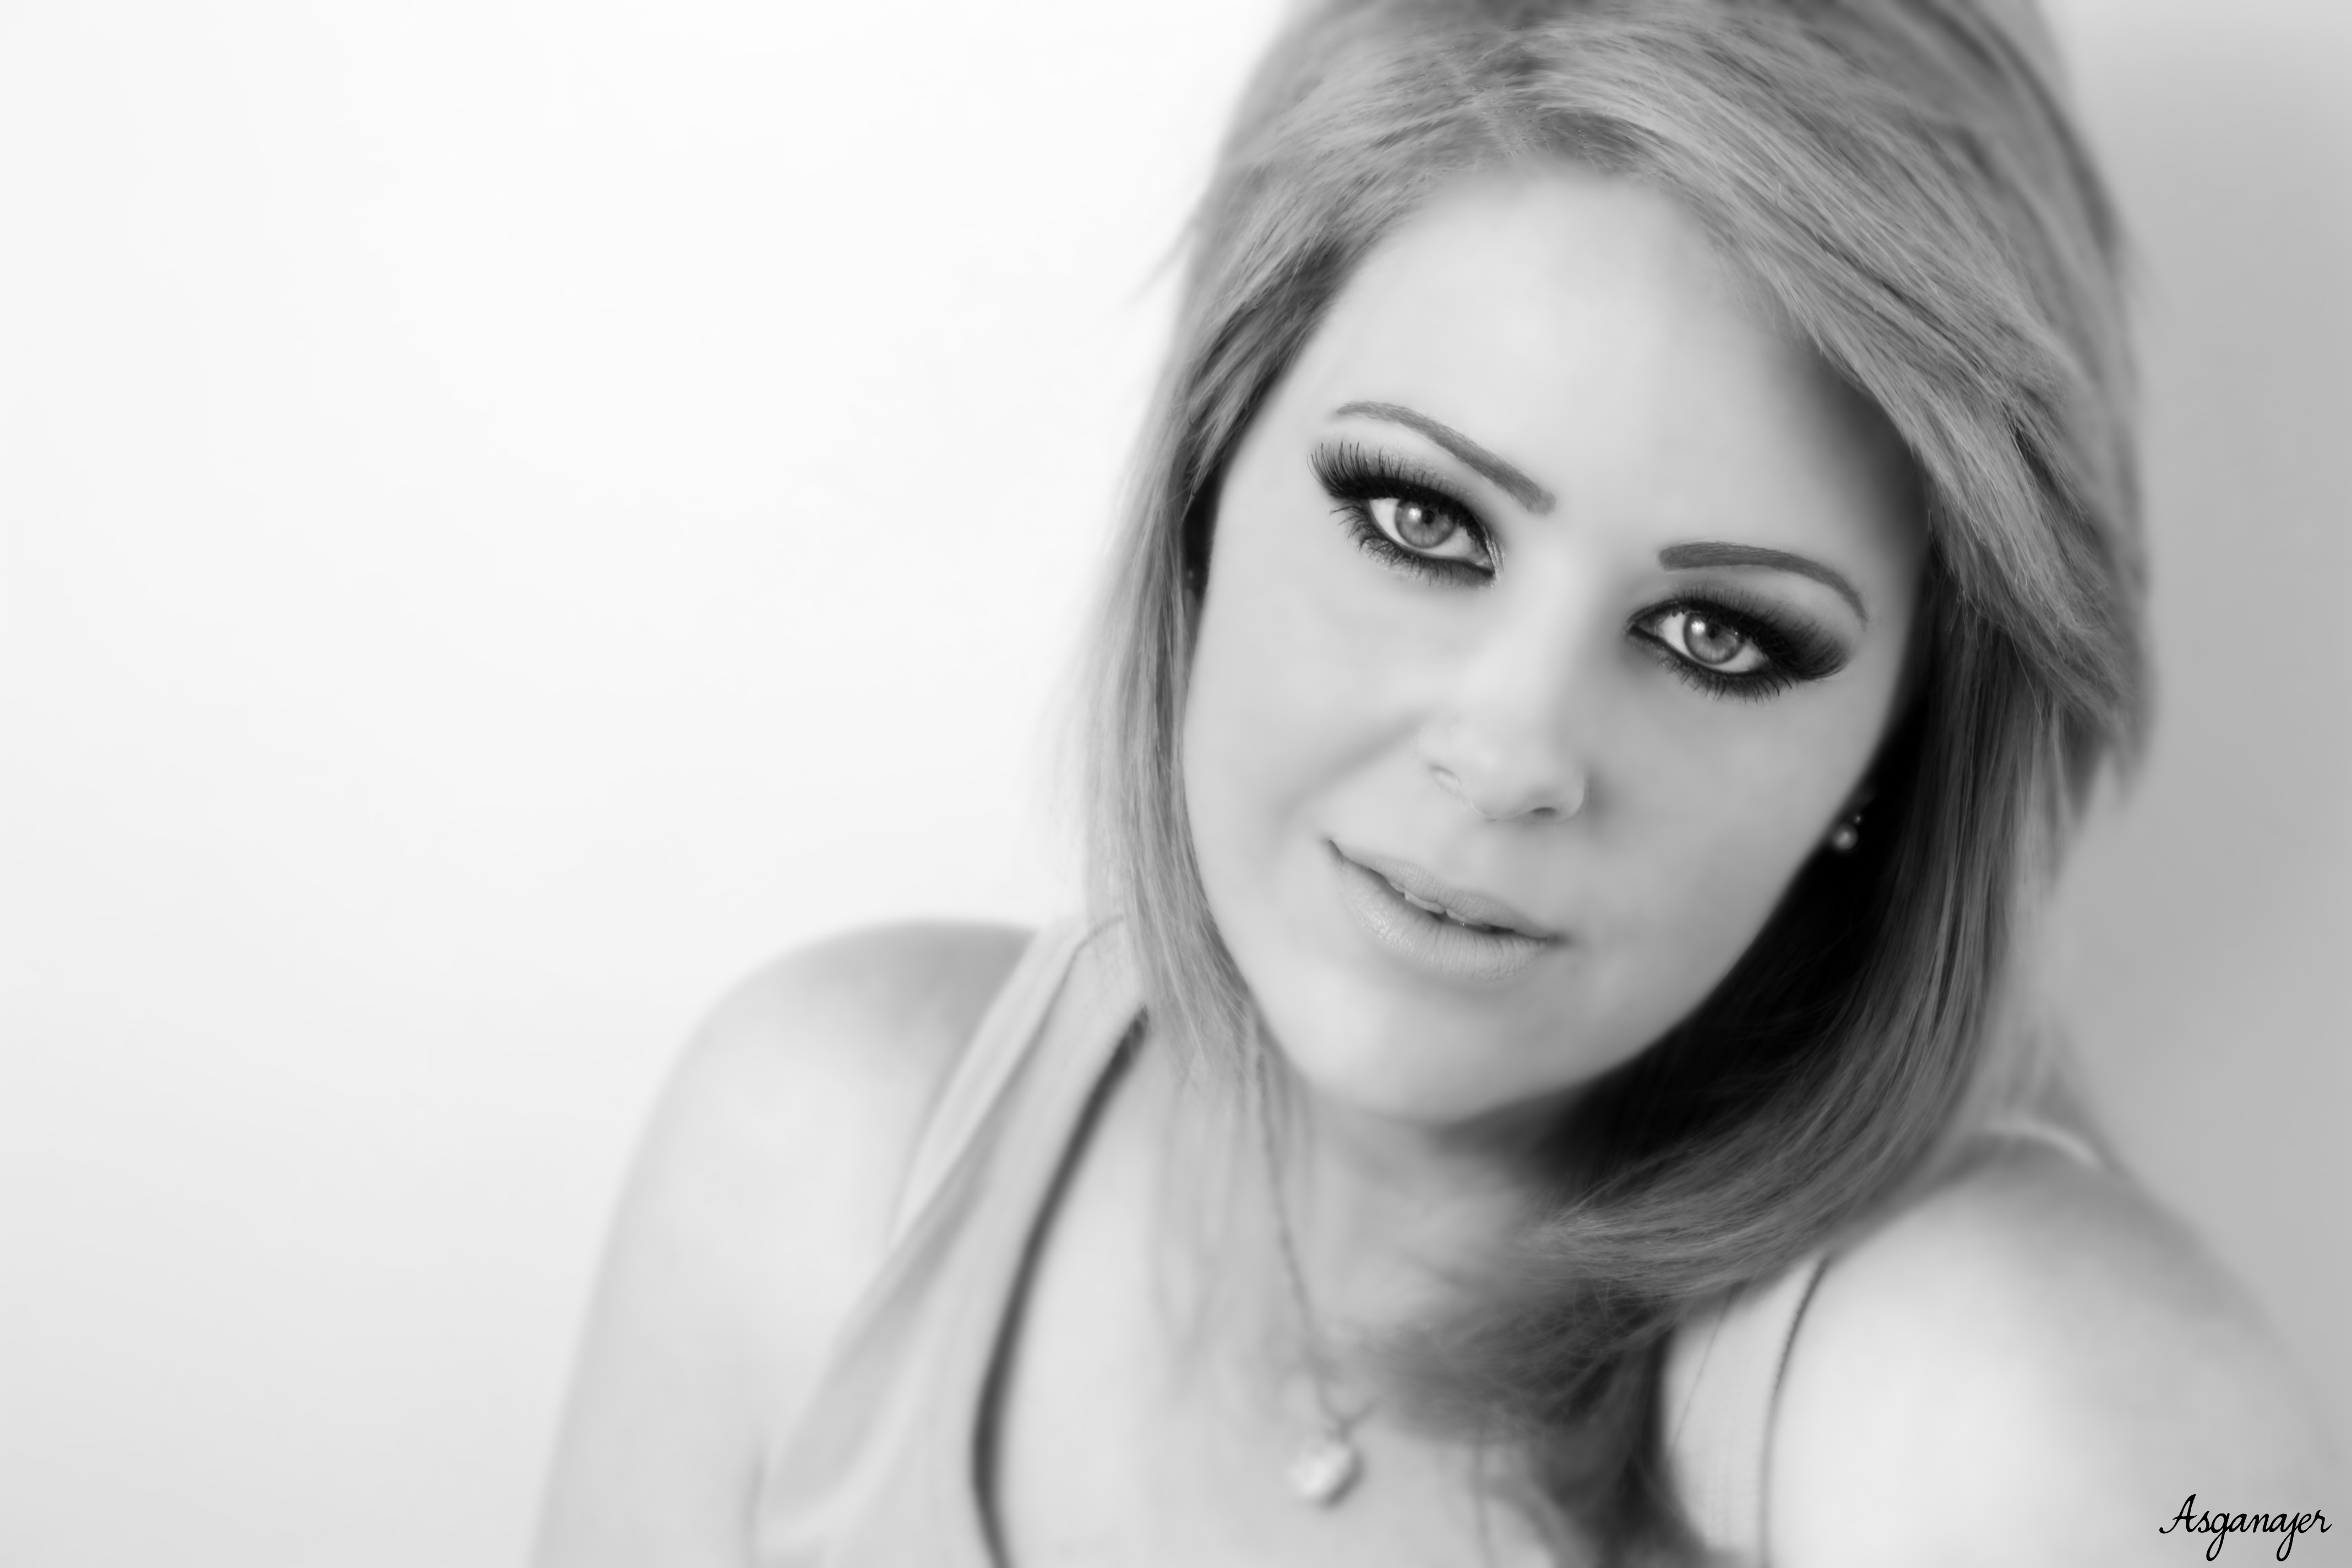
Today I’m going to show how to realize black and white effect with focus effect, in order to give a particular focus effect to the image. First of all open your image.
Duplicate our first layer and click on Color—>Desaturation on the copy layer
You will get this result: the original layer and the black and white layer
Now concentrate on the B&W layer. Click on Color—> Curve to adjust the colors of the image ( remove the areas with too much light or too much shadow).
At this point duplicate this black and white layer, click Filters —>Blur —>Gaussiana
Add a layer mask to the blurry layer
With the help of the brush, color the area of the eyes, the nose, the mouth and the hair near the face (then everything but what we have coloured will be fuzzy).
Create a new layer called “lights” above the others.
Select the brush tool, set opacity to 60% and layer mode on “overlapping“: color the areas of the face where light comes from, in order to get an effect similar to this:
Now do the same thing with the black color to highlight shadows and contrast:
The first part of this tutorial is done. Click CTRL+D and your job will be duplicated on Gimp. Then join all the layers of the draw (it is useful to duplicate the image beacuase if you want to modify something from the first part you can easily come back).
Once all layers are joined, duplicate the layer.
Like we did at the beginning of the tutorial, click Filters —>Blur —>Gaussiana with 25px as feather radius.
Right – click on layer —> Add layer mask
Remove the blurring opposite the most detailed areas. As regards the hair, let’s show only the front lock of hair.
The final effect will be this:


0 thoughts on “Black&White Focus Effect”