Hi everyone!
Follow this step by step tutorial to create Dragan effect! Don’t you know what Dragan effect is? Its name comes from an artist and photographer called Andrzej Dragan, who gives a disturbing and dramatic aspect to his images. Today we will try to reproduce his technique, so you will need to install the plugin G’MIC (see the guide in the section “Edit Gimp“).
Start this tutorial by choosing an image and opening it in Gimp, then duplicate the image 3 times.
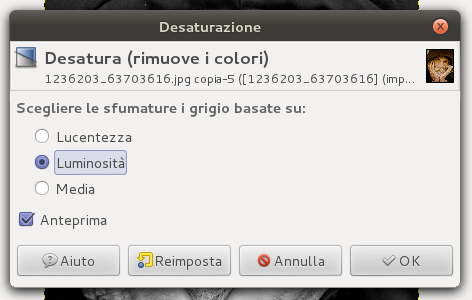
Select the first copy and click on Colors—>Desaturation, set brightness as mode.
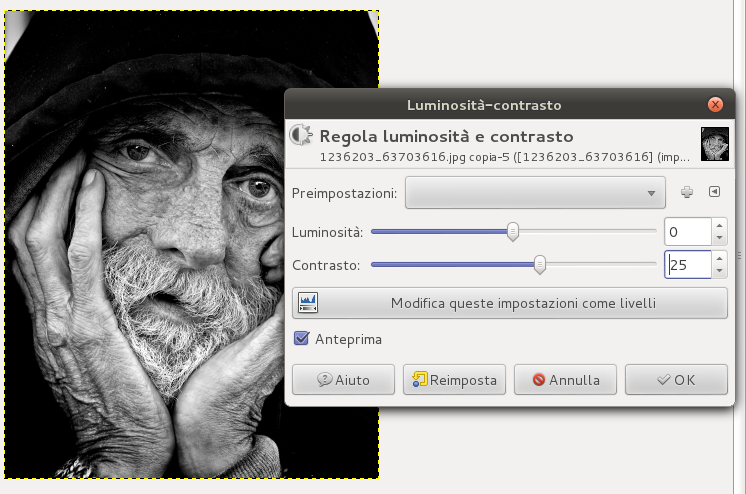
Then click on Colors—>Brightness contrast and configure the settings below:
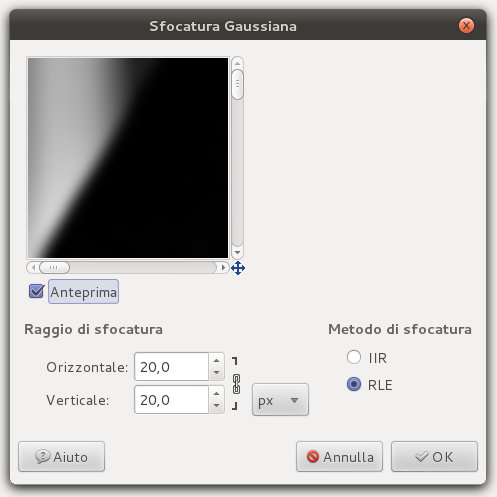
After that, click on Filters—>Blur—>Gaussiana and set blur range to 20.
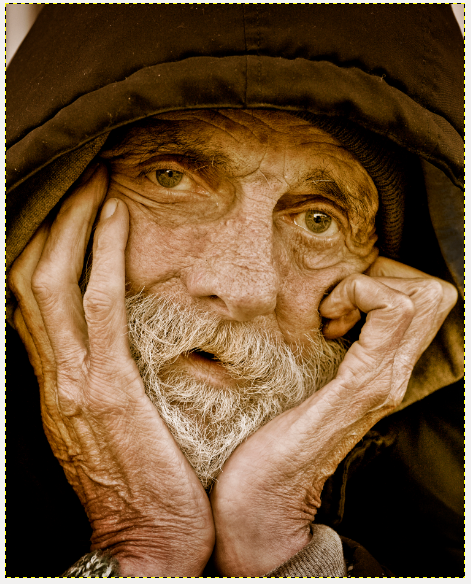
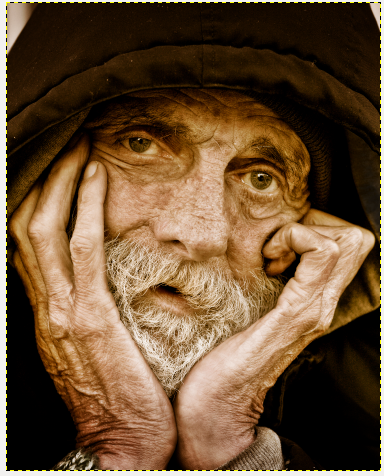
Set layer mode to multiplier and set opacity to 40. You will get an image like this:
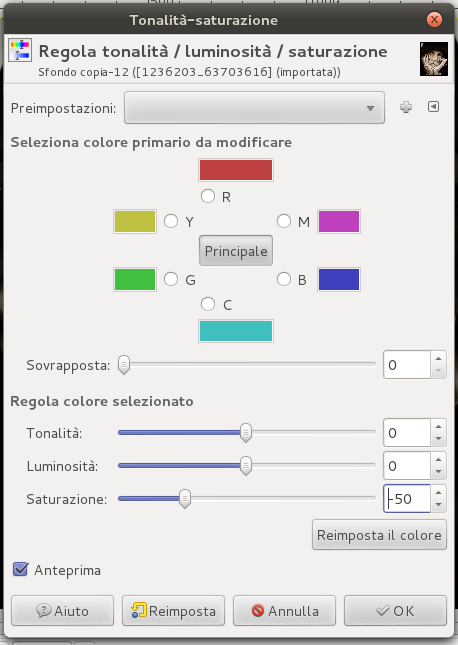
Duplicate the last image you got, click on Colors—>Saturation Tone and set saturation level to -50.
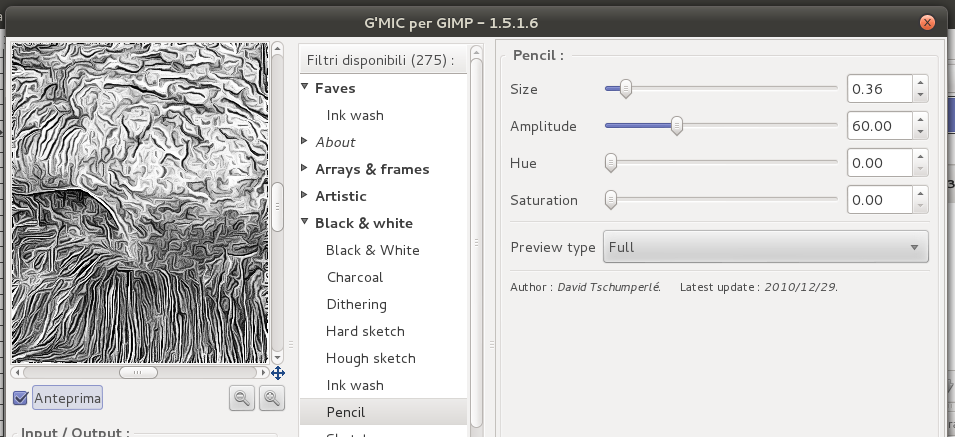
We have almost finished! Select one of the image copied at the beginning of this tutorial and click on Filters—>G’MIC—>Black and White—>Pencil, configure the options below:
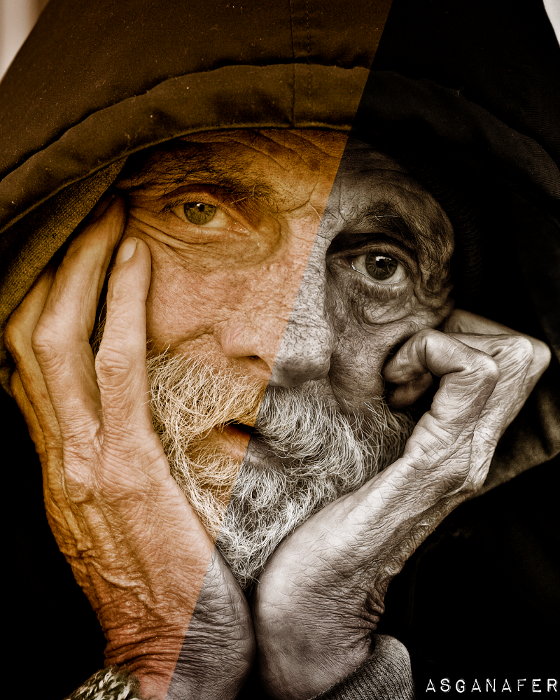
This is will be the final result:
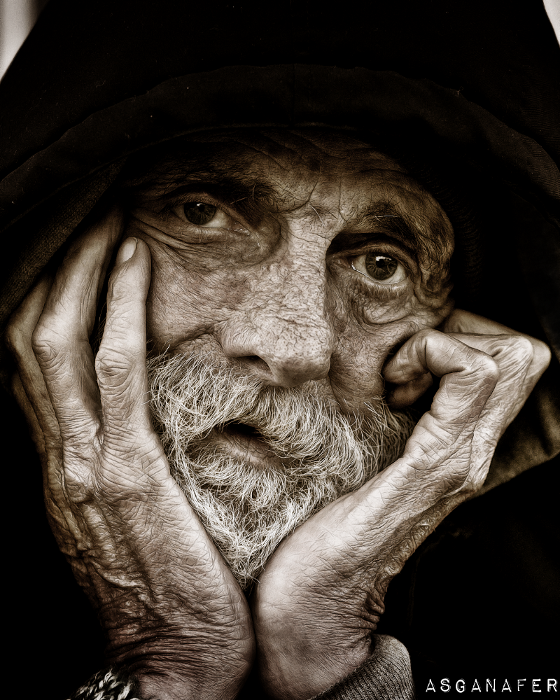
This image is dramatic, isn’t it? Here is a comparison between the original image and the one we have just created: