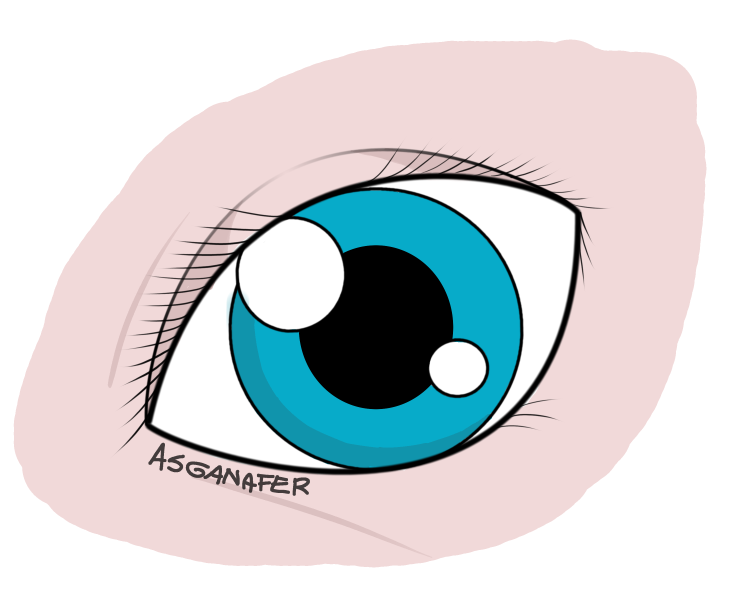
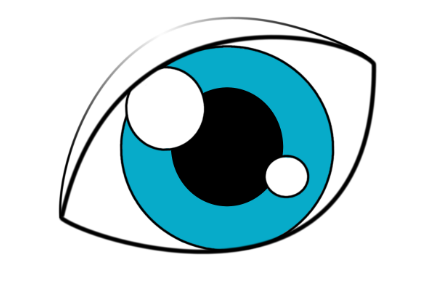
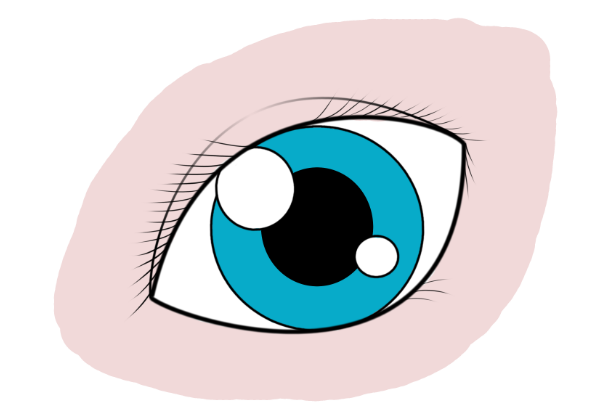
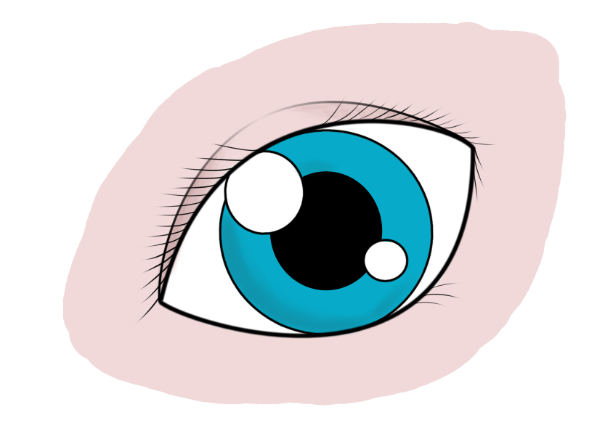
Welcome to a new Gimp tutorial! Today we will try to draw a manga eye through the graphics tablet.
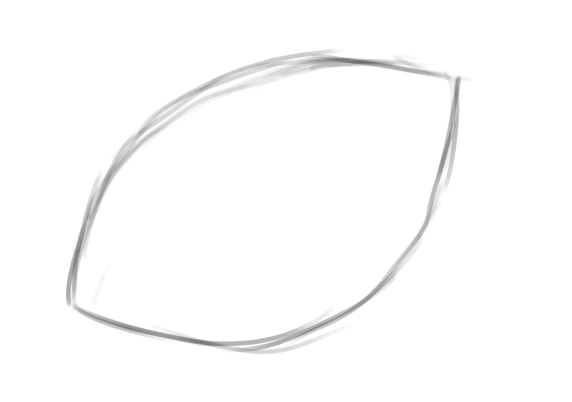
First connect the graphics tablet and open up a new document (I’m using an A4 300 dpi). Start sketching an eye on the graphics tablet with pencil and dynamics “Pressure Opacity“.
I suggest to the ones who have a graphics tablet that can detect the pen pressure, not to exaggerate when drawing the first sketch.
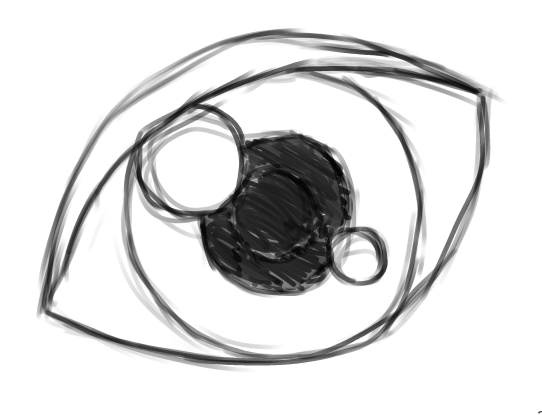
Try to better define the eye: you can slightly press down on the contours, untile you get something similar:
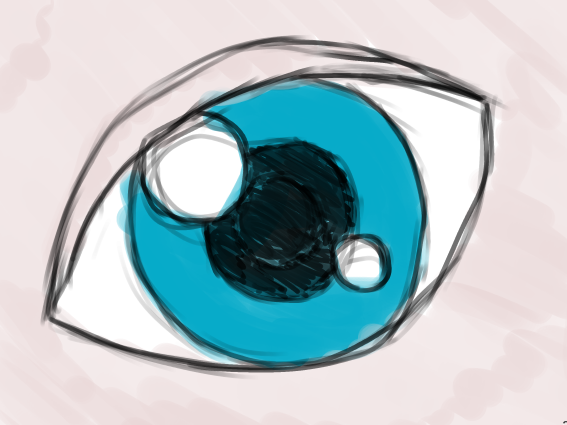
If you want, you can quickly color the draw to have an idea of the final result.
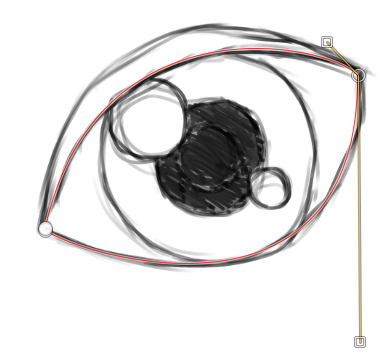
Now create a new layer and select path tool to surround the eye, set the brush size to 35px.
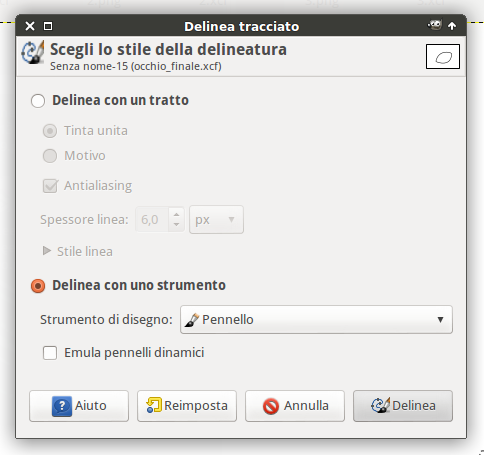
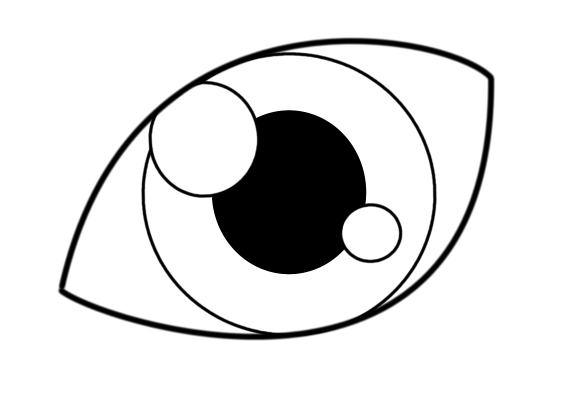
Once you have positioned the path, click on modify —>Sketch path. Click on sketch with a tool in the window just opened, then click on sketch.
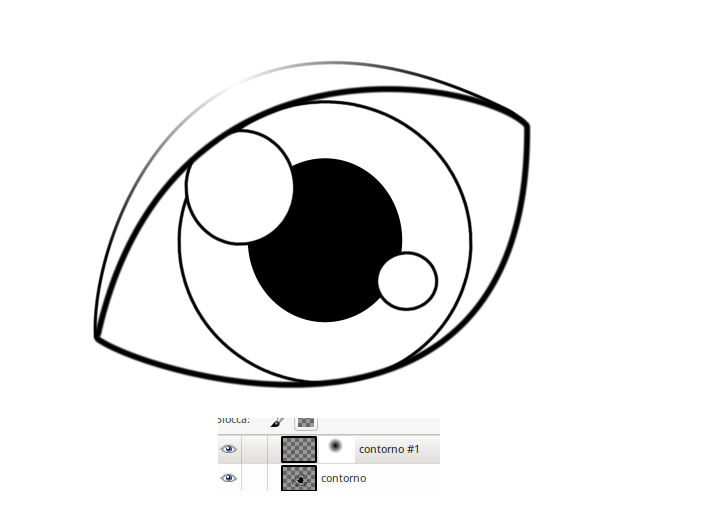
Create a new layer in order to draw the eyelid. Draw them with path tool, and apply a layer mask to make the central part opaque. In this way you will create an effect as in the image below:
Create a new layer called “Color” and color the iris.
To draw the eyelashes, create a new layer and set dynamics to pencil generic: the more you reduce the pen pressure, the more the brush size becomes small.
Now color the eye contours. Select brush tool without dynamics and color around the eye, you will get an image like this:
You only need to make some shades and a little retouching. Select a darker color than the base one and click on brush with dynamics “Pressure opacity“: it will be like using a pastel.
If you prefer a more marked shade, more appropriate for a Manga draw, you can remove the dynamics from the brush and draw the shades.
This will be your final artwork:
