Ever wonder what you’d look like with a different hair color? Do you want to know what colors fit you? You can easily check it with a few simple tricks in Gimp.
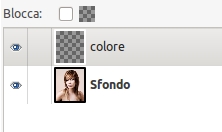
Open your photo in Gimp, (if you want to try this tutorial without your own photo, you can use the same picture as me, or some other stock photo with a contrasting background) and create a new layer.
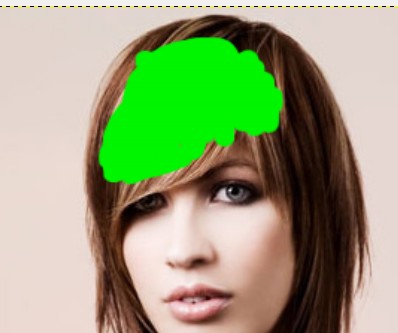
Now choose the color you prefer, I chose green, and start coloring the hair of your subject, be patient and pay attention to the details.
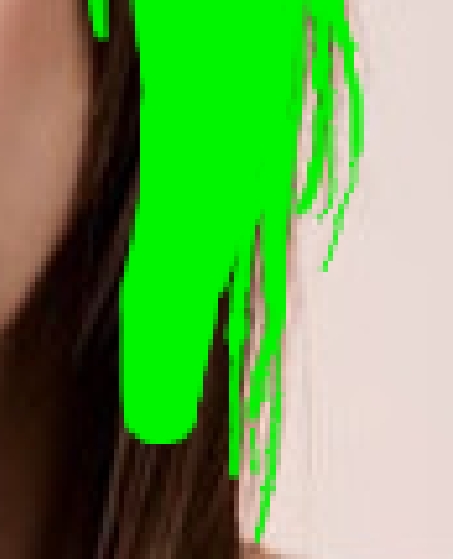
Use very small brushes to color every single lock, and try to color the central part only.
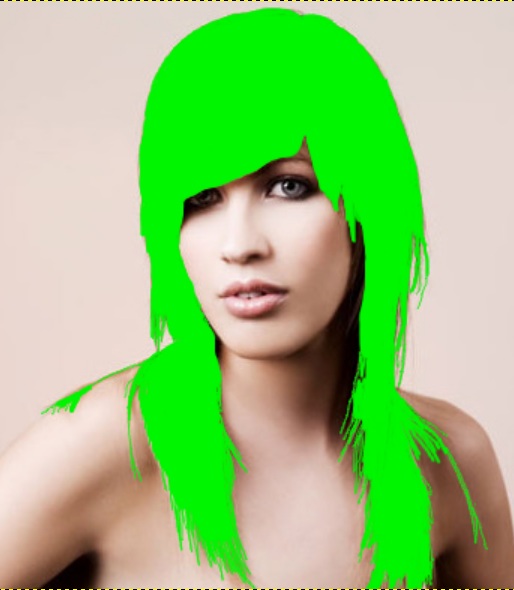
This should be the outcome:
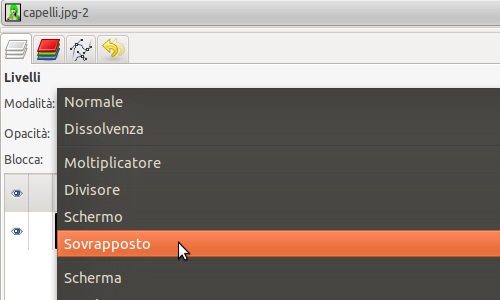
Change the color layer options from “normal” to “overlapping“. If you have made any smear, use the rubber to adjust them.
If you have chosen a vibrant color, like lime green or fluorescent yellow, follow the process described above, while if you have chosen colors like blue, or red, select “color” instead of “overlapping” in the layer options.
Select the blur or contrast tool and apply it to the contour of the hair in order to better define the hair color and hide possible smears.
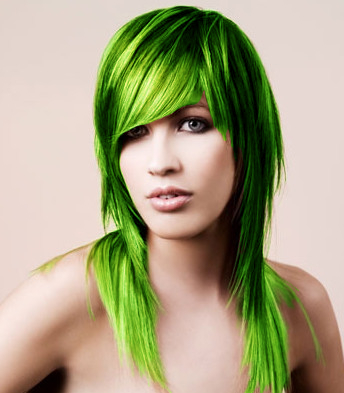
This will be the final effect:
