Welcome to my new Gimp tutorial! Follow this step by step tutorial to create an explosive text effect!
Before starting, you will need:
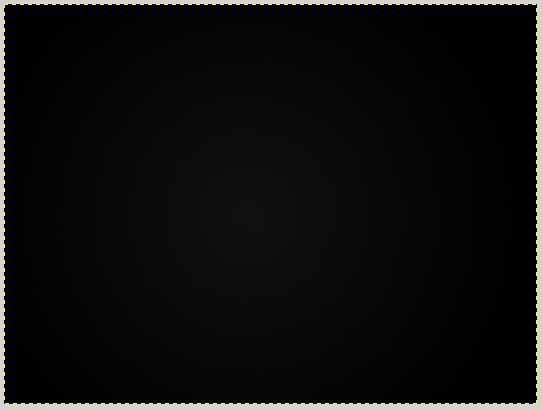
Begin by creating a new document in Gimp. I’m using a 1600×1200 sized document. Trace a circle outwards with gradient tool, circular mode (I used black color and color #0f0f0f).
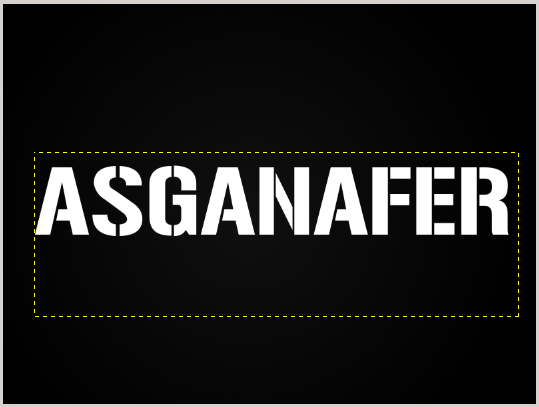
Select text tool and write what you prefer (as regards font try not to use a too thin one).
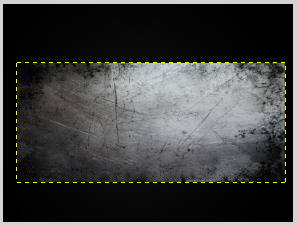
File—>Open as layer and select the metallic texture downloaded at the beginning of this tutorial. Open the image and resize it in order to adapt it to the writing.
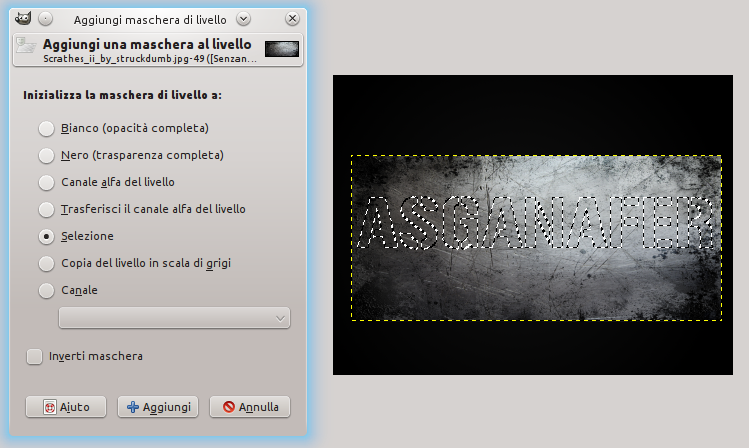
Position the cursor on the writing layer and right – click—> Alpha to selection. Then click on the texture layer, right – click—> Add a layer mask as in the image below (choose selection mode).
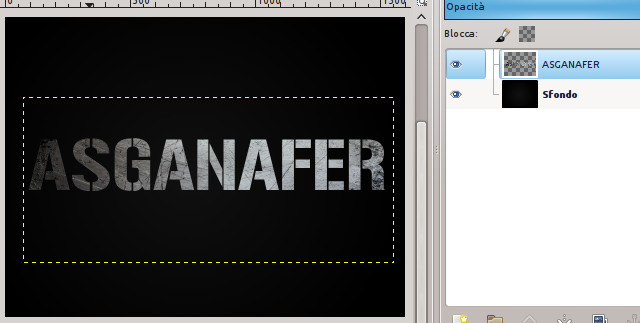
Join together the texture layer and the writing one.
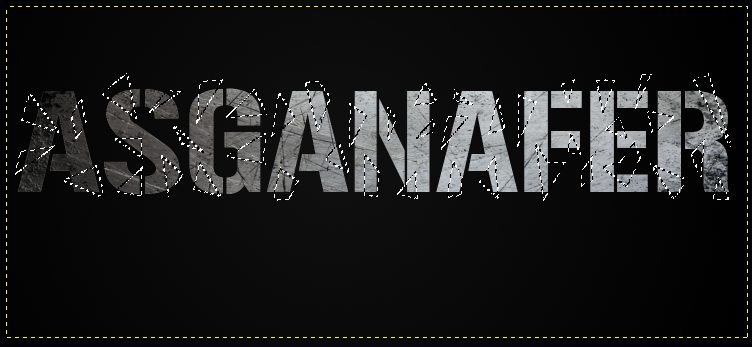
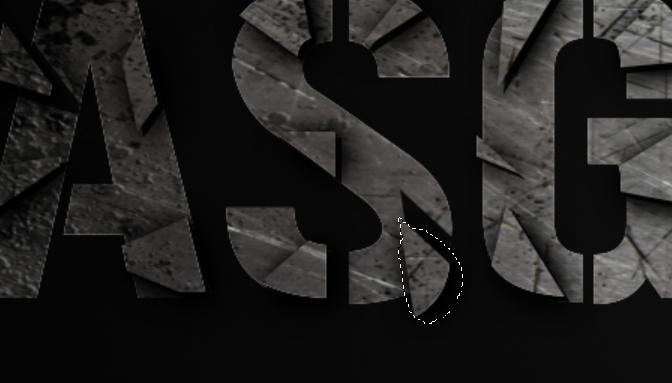
Use freehand selection tool to trace some shapes on the writing: they are the slivers which will give an explosive, breaking effect of the writing.
Now cut the fragments and paste them on a new layer, so you should have 3 different layers. The first one will contain the fragments, the second one will be the writing and the third one is for the background.
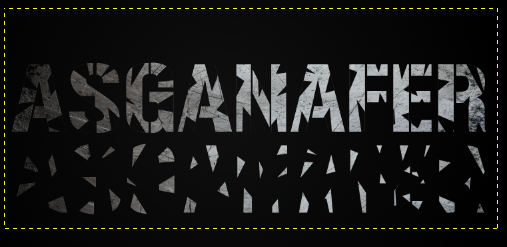
Move slightly the fragments layer.
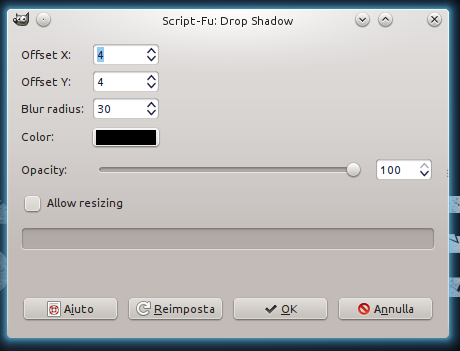
Now give a superimposed effect to these fragments: Filters—> Light and shadow—> Project shadow.
This will be the result:

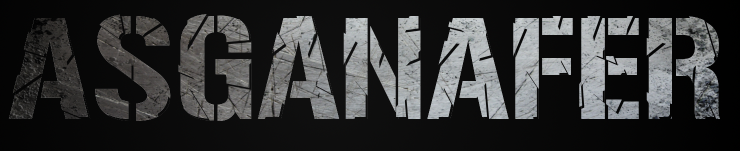
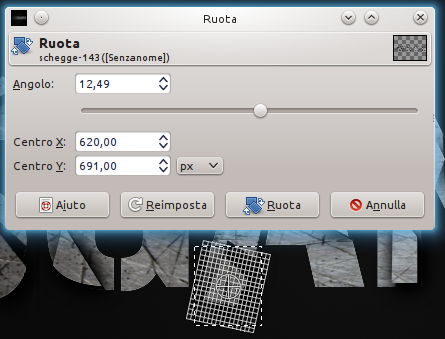
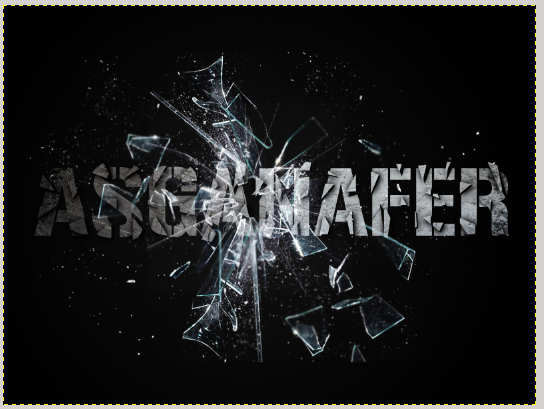
When something breaks, fragments don’t have all the same direction, so select every single fragment with freehand selection tool to rotate or move it slightly.
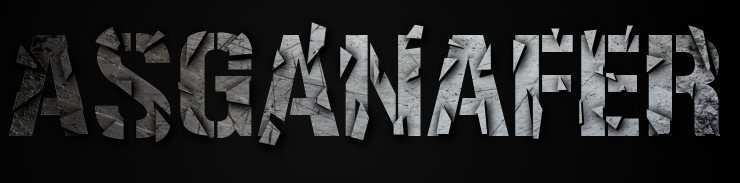
This will be the final effect:
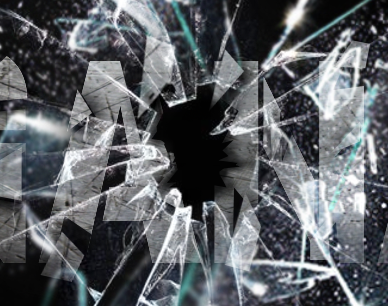
File—> Open as layer and select one of the glass images. Change layer mode from “Normal” to “Screen“.
Repeat the same process for the other glass image.
Add a layer mask to every glass and delete the central part of the image, in order to create a hole from a gunshot.
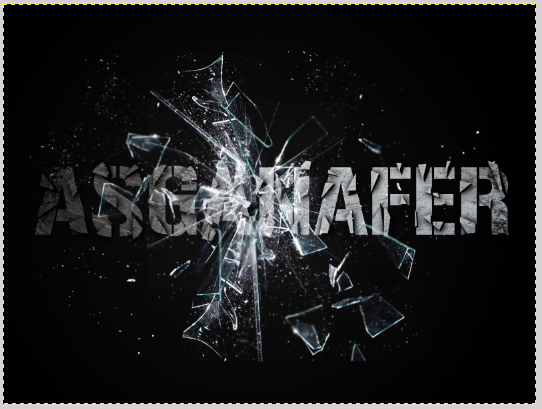
Adjust the last details: ruin the borders of the letters and darken them with brush tool (black color, opaciy = 50%).
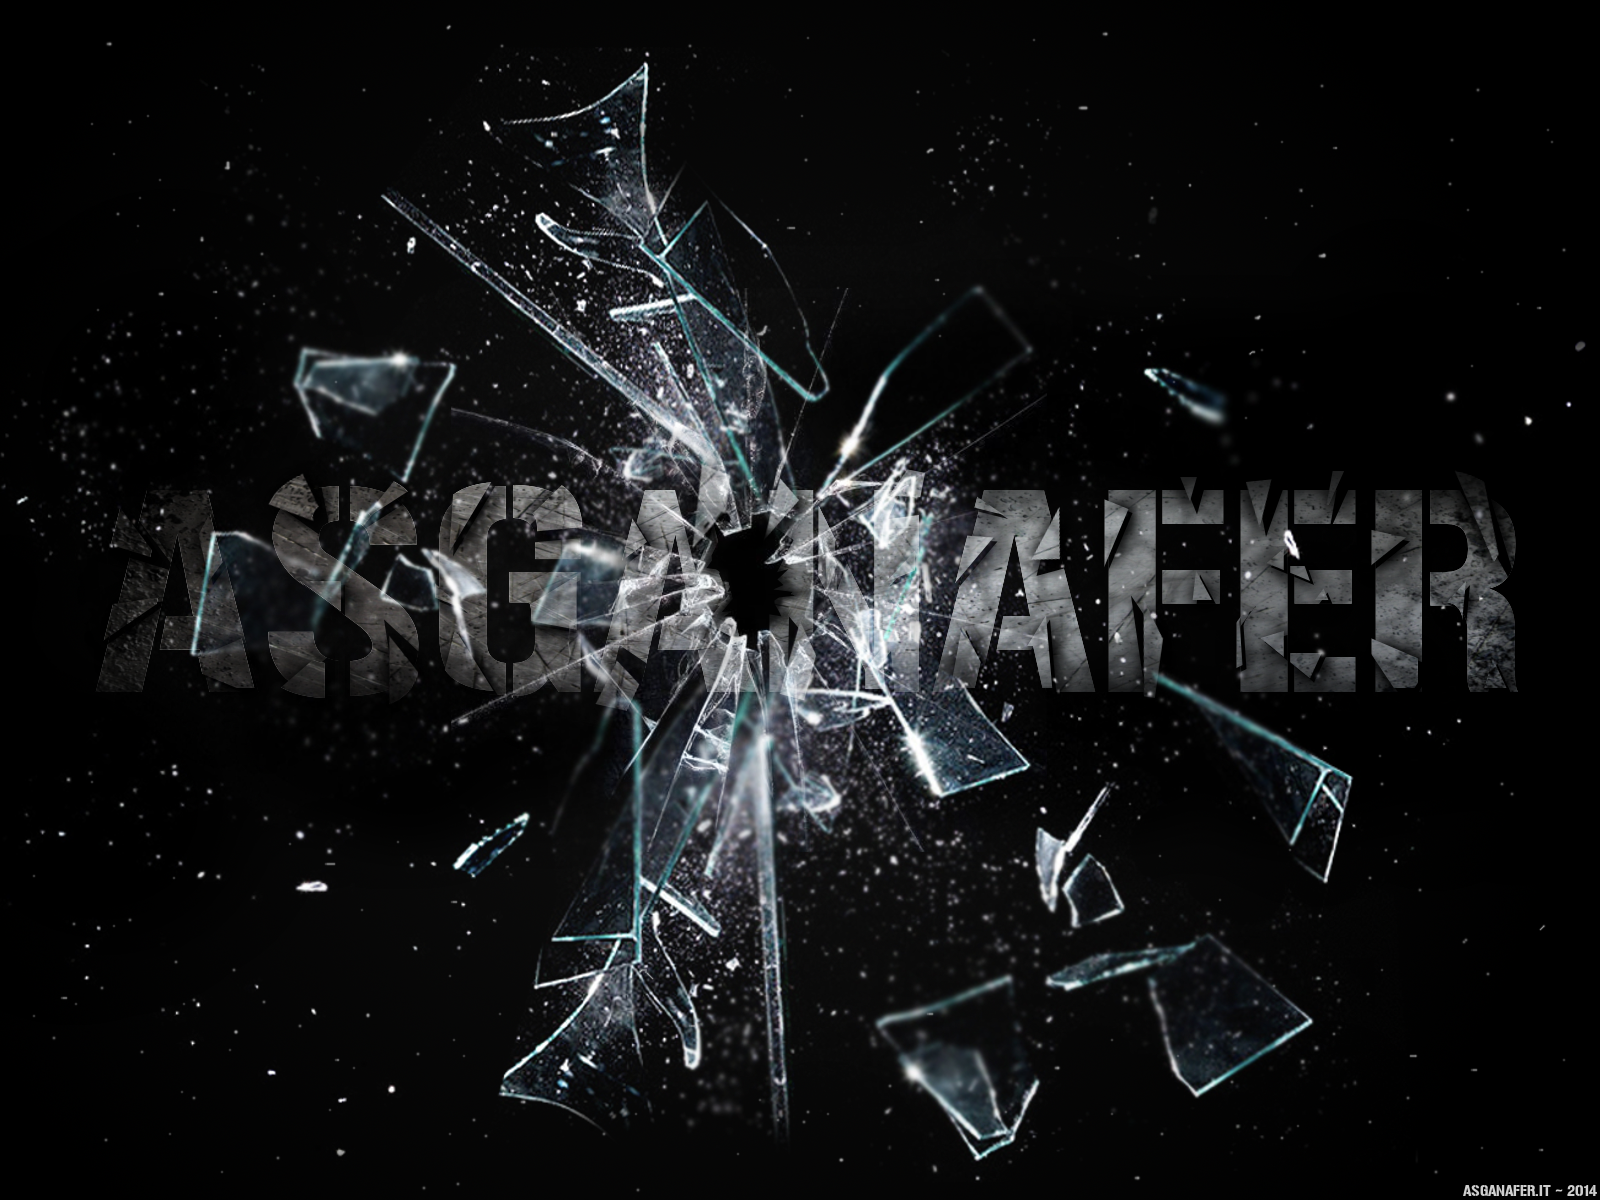
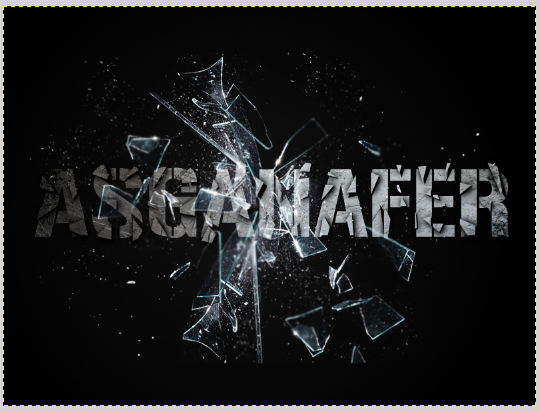
This should be the final result! Do you like it?