Are you ready to resume your artwork? Here is the second part of the tutorial!
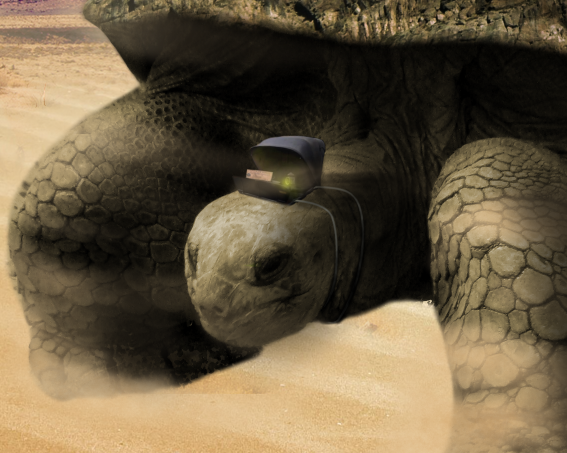
While I was drawing, I thought about how to fight a tortoise: you could use reins and a cockpit!
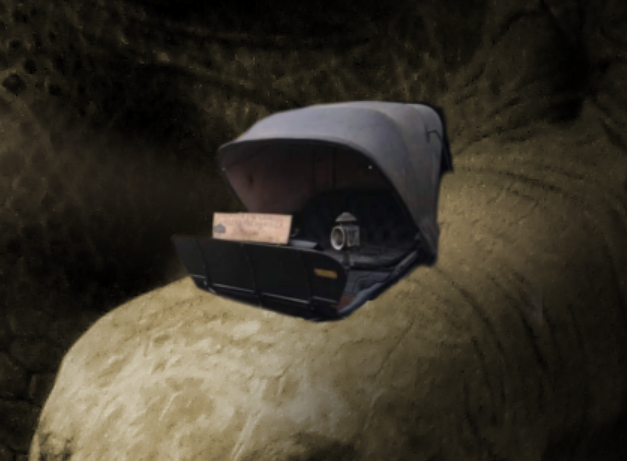
Open, resize and block out (with a layer mask) the carriage image.
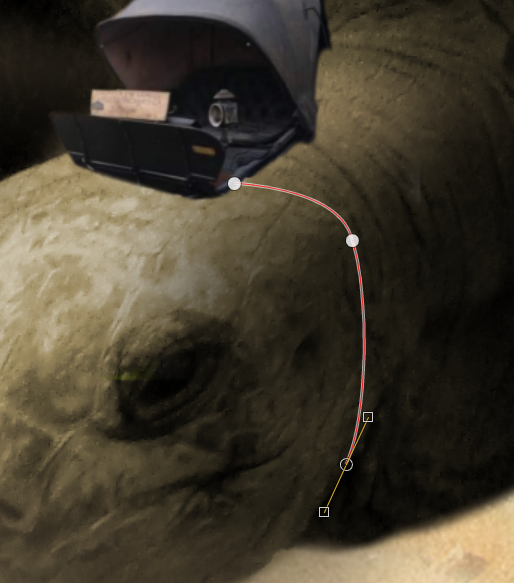
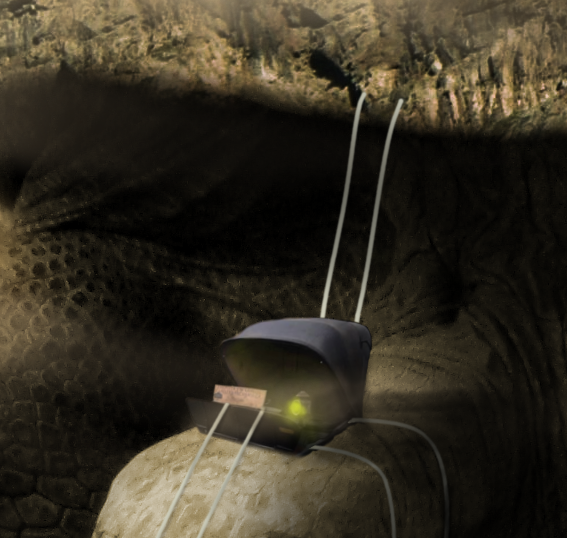
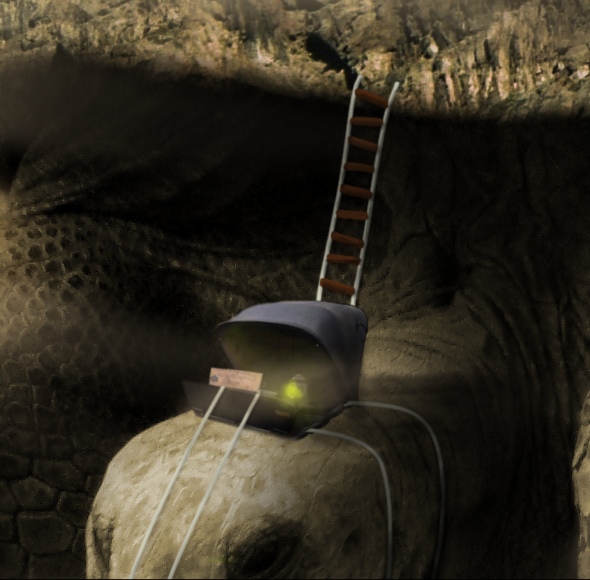
Use the path tool to draw a path similar to the one below. This will be one of the rope with which the cockpit is attached to the tortoise head.
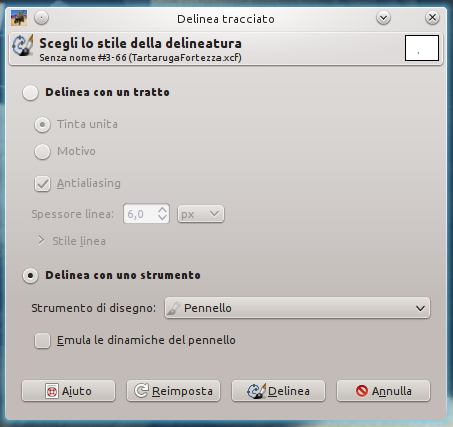
Select the brush tool, opacity 100, size 8px and color #a09e90. Then click on Modify—> Sketch path and set the options below:
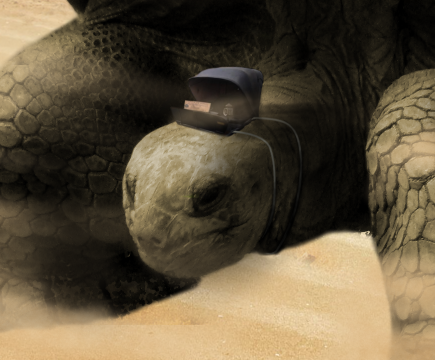
Repeat the same steps to draw a second rope, the outcome should be this:
Create a new layer over the cockpit one, and set color #f6ff00 and opacity 30.
Color the lantern: focus the color in the centre, then lower brush opacity and color around the light.
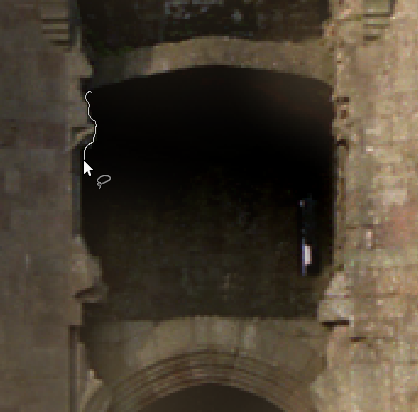
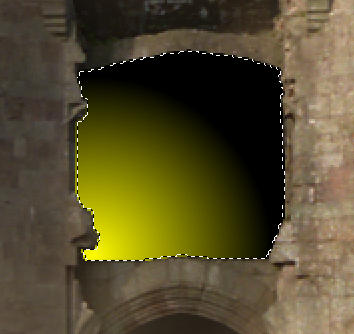
Create a new layer over the castle one, and block out the hole in the centre of the castle with the freehand selection tool.
Once selected the image, take the gradient tool: primary color #f6ff00, secondary color #000000.
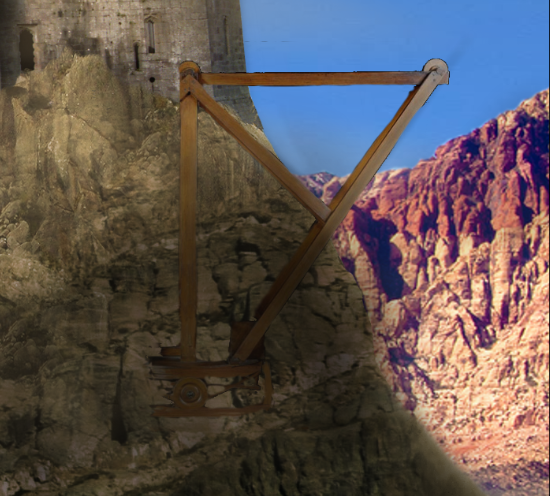
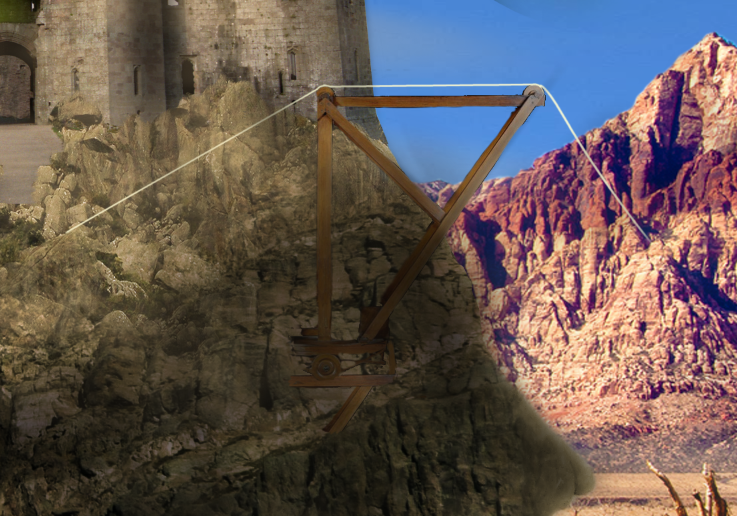
Open the wooden crane image and block out the structure with a layer mask.
Draw the ropes of the crane with path tool, follow the procedure used for the ropes on the tortoise head. Use also the same brush size and color.
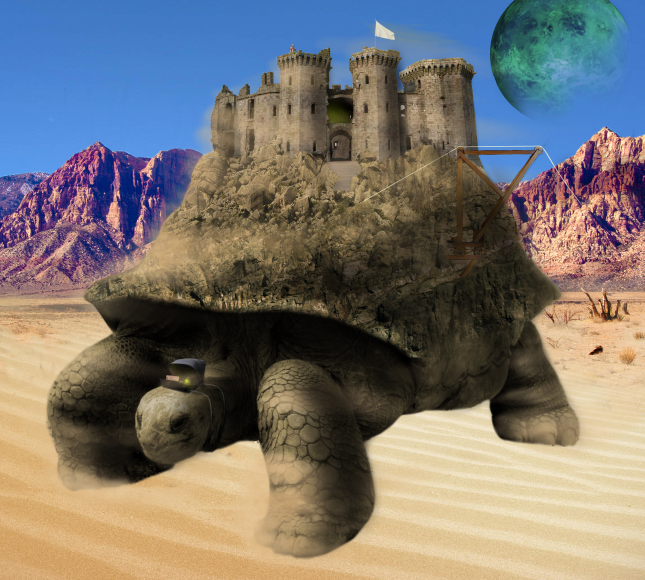
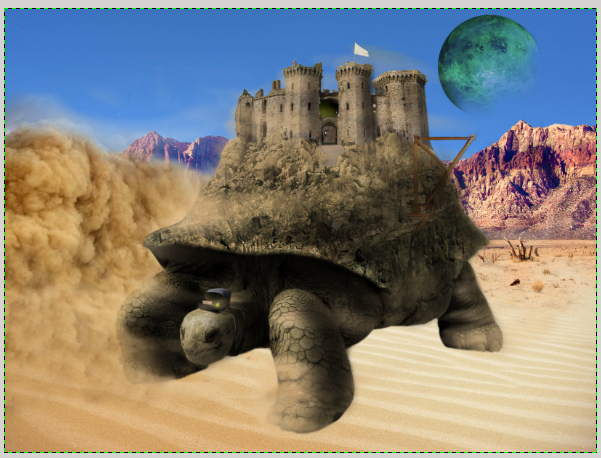
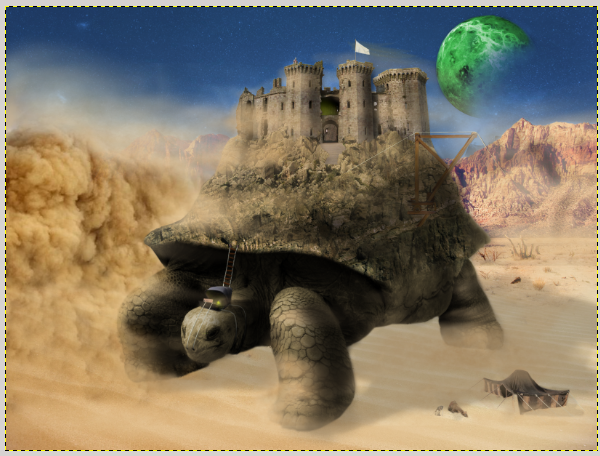
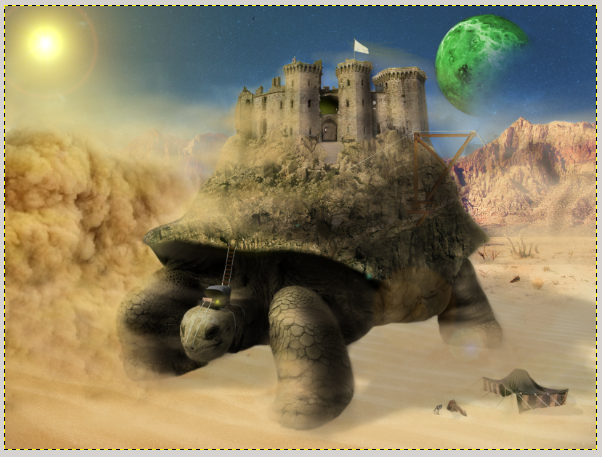
This should be the result for now:
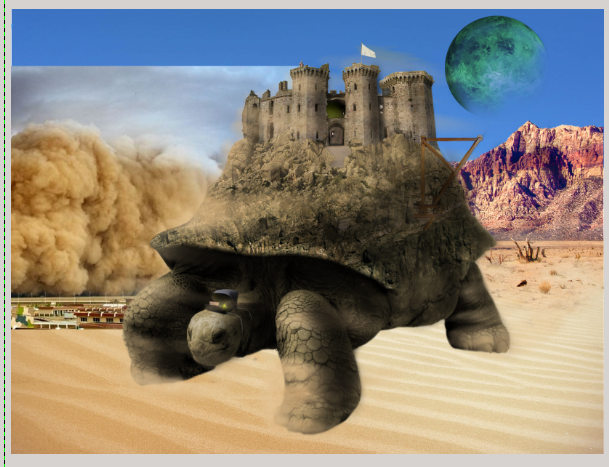
Open as layer the sand storm image and position it between the background and the tortoise layer.
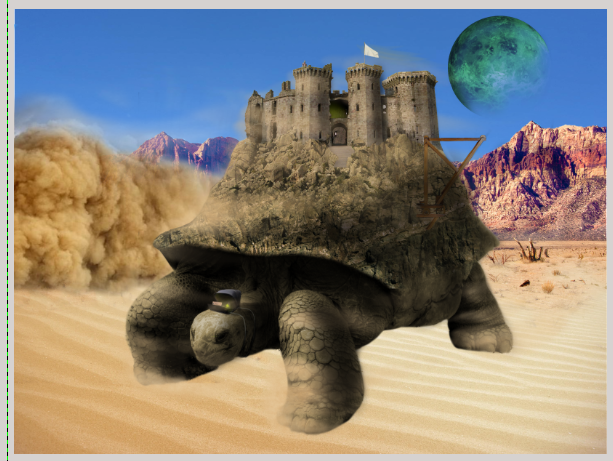
Right – click—> Add a layer mask, take the brush tool and block out the sand storm image. Then create a new layer over this one, and color around the storm with brush tool (opacity 20, color #d5b882) to give a motion effect to the sand.
Duplicate the photo layer, position it below the first one and set opacity in order to soften toward the terrain.
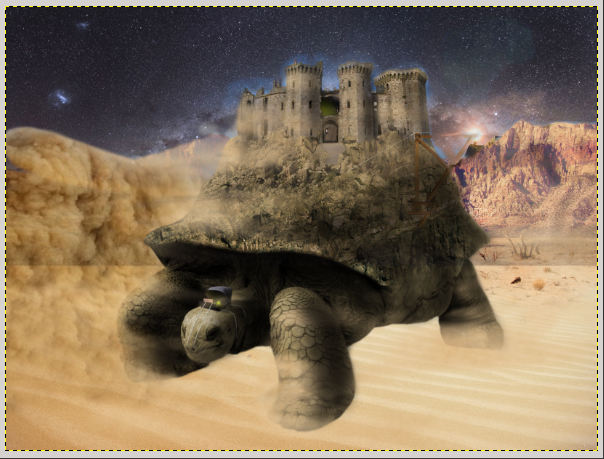
Now add some stars to the sky (in this fantastic world you can see stars during daytime too). Open as layer the sky image and block it out with a layer mask.
Change layer mode from Normal to Value, and set opacity to 59.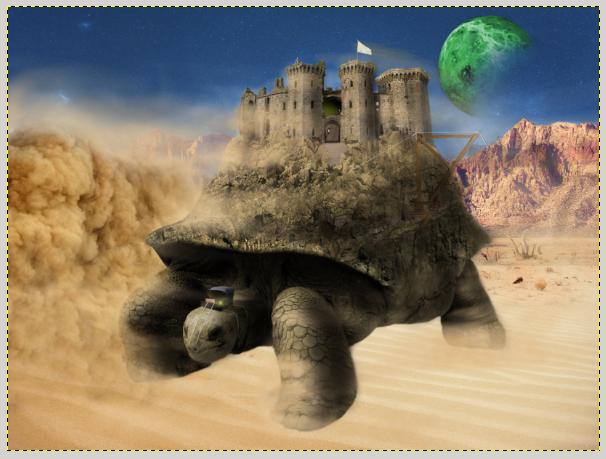
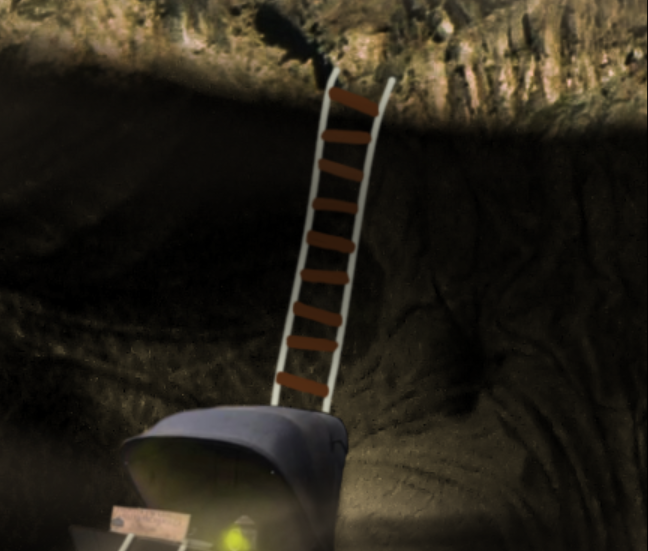
Draw a ladder to climb onto the tortoise and pilot it. Draw two lines using path tool (size and color as ones for cockpit reins) on a new layer below the cockpit image.
Draw the rungs of the ladder with brush tool, color #d5b882 and size 5px. Try to give them different grades in order to make the ladder old.
Create a new layer above the previous two and color the lower part with brush tool (opacity 10, color #000000, size 5px): these shaodows will give a three – dimensional effects to the rungs.
Now it is time for the shadows on the terrain! Draw them with brush tool (opacity 30, color #000000). Then you can draw a tent and a camel with a solder at the bottom right.
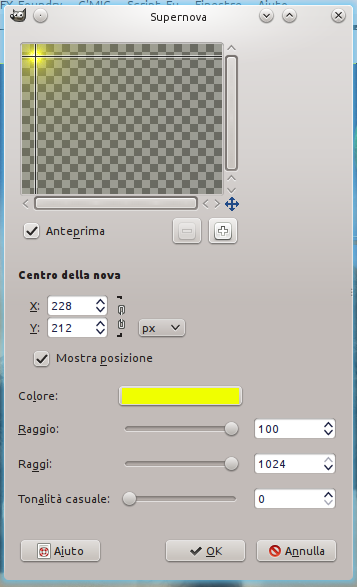
You only need the Sun! Create a new layer above all the others and click on Filters—> Light and shadow—> Supernova and configure the options below: (Write down the coordinates)
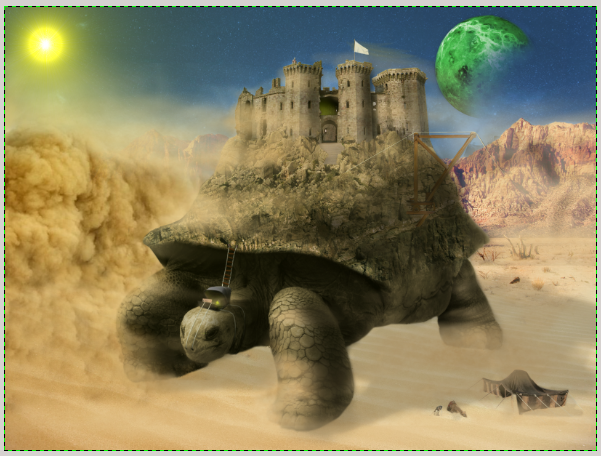
This is what you will get:
Right – click—> Add a layer mask and delete the yellow part in the shadow areas with brush tool.
Click on CTRL+D to duplicate the layer on a new sheet. Right – click on any layer—> Flatten image. Then click on Filters—> Light and shadow—> Sparkle and position it on the Sun coordinates.
Add your signature and your artwork is finished! Do you like it? 😀
