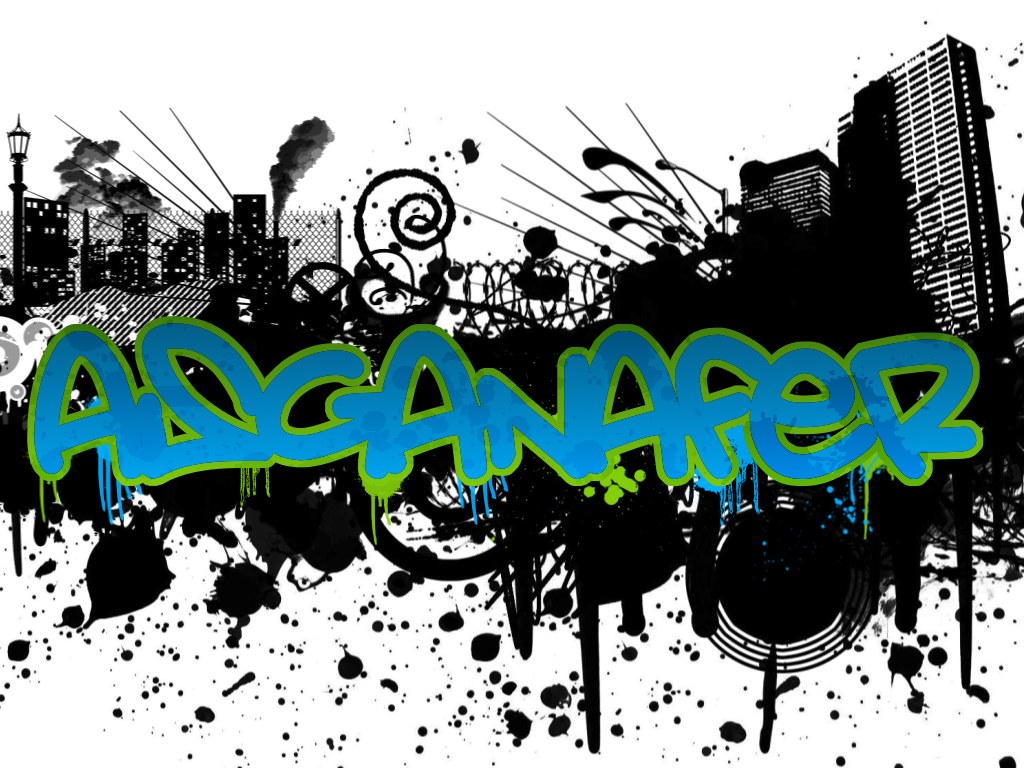
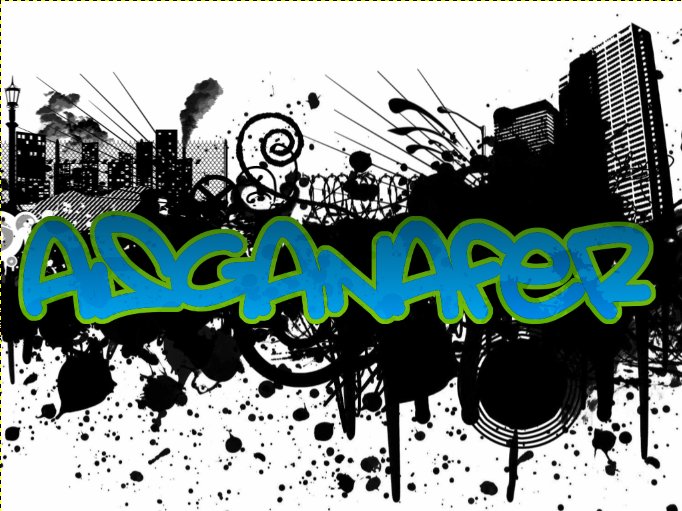
Hi guys! Follow my step by step tutorial to create this wonderful graffiti!
You wiil need these tools:
- font (put it in the “font” folder of gimp, and then relaunch it)
- brushes 1
- brushes 2
- brushes 3 (include them in the brushes list through Gimp preferences)
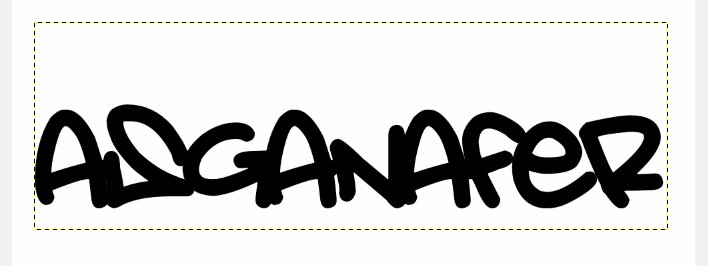
Open up Gimp and create a new document, select the text tool and write what you prefer, then set align = center and font = “Amsterdam” just downloaded.
Position the cursor on the writing and click Alpha to selection, in order to select the writing. Then set dark blue (045074) as primary color and light blue as secondary color (00aeff). Then trace a line from the top of the writing to the bottom with gradient tool, in this way we will color it in light blue.
Create a new layer and name it “green”, position it below the writing and select it.
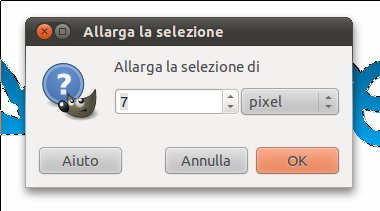
If the alpha to selection made previously is no longer active, select it again. Then click on Selection—> Enlarge, a form will open: set “7” as value and click OK.
This step consists of creating a border to the writing. Set dark green (#38760b) as primary color and light grren (#83cf0b) as secondary color. Then select gradient tool and, as you did before, trace a line from the top of the writing.
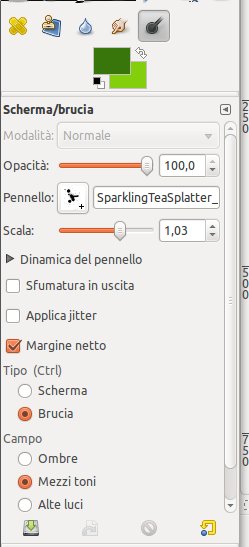
It’s time to dirty the writing! Click on Selection—> Nothing and join the layers together (right – click —> meld at the bottom). Select shade/burn tool and configure the settings below:
Selecting different brushes, click on the writing to make some spots (with the shape of the selected brush), the more you click, the more the spots will be visible. The effect will be similar to the image below:
Select brush tool with “Urban Design” mode to create an abstract background in black color.
Position the curson on the background layer and set light green as primary color, and “Splattern” as brush to create some smears, repeat the same process with light blue color.
This will be the final effect:
