Hi everyone! In today’s tutorial you will learn how to add a tattoo to the body and make it looks realistic.
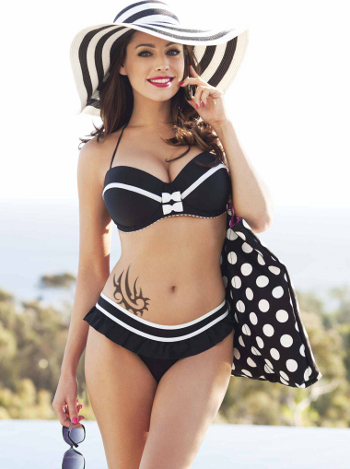
First choose the image you want to add the tattoo to, it can be an image of yourself or a model one, like the image below, and open it in Gimp.
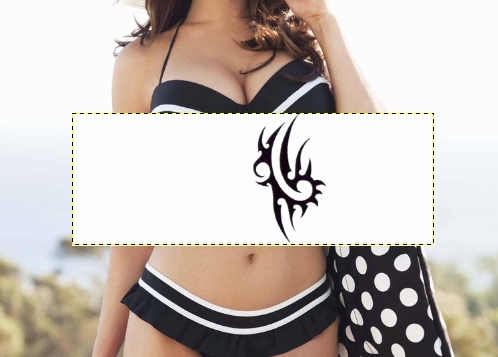
Then you have to deciede which tattoo apply, click on File—> Open as layers in order to open that tattoo image as a layer on the body image. Remember to choose a tattoo image in black and white!
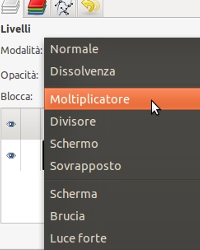
Select the tattoo layer and change layer mode from “Normal” to “Multiplier“, you see only the tattoo.
This step consists of modifying the tribal tattoo in order to adapt it to the body of the girl, we will use rotate, scale, tilt and perspective tool. At the end you should get a result similar to the image below:

In this case, a part of the tattoo is hidden by the swimsuit. To adjust this problem, select the eraser tool and delete the hidden part.
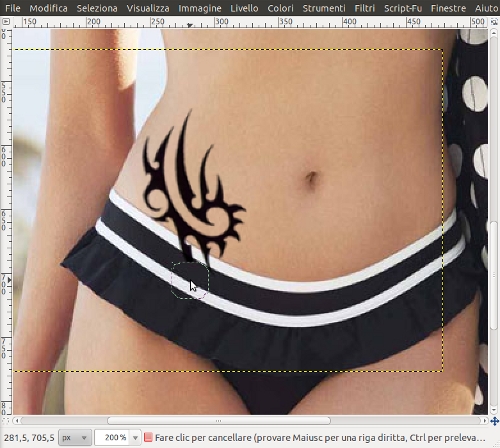
Modify opacity to 70%.

This will be the final result: