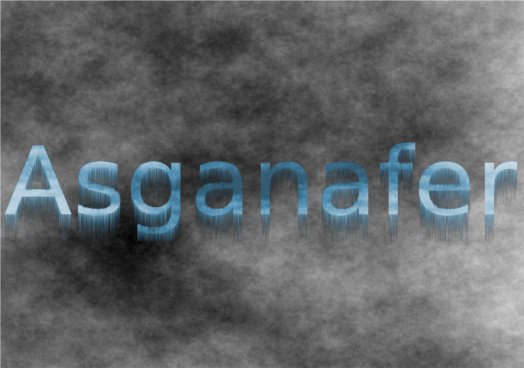
Follow this tutorial to learn how to create an icy text in Gimp!
Create a new document, I’m using a 1024 x 768 sized document.
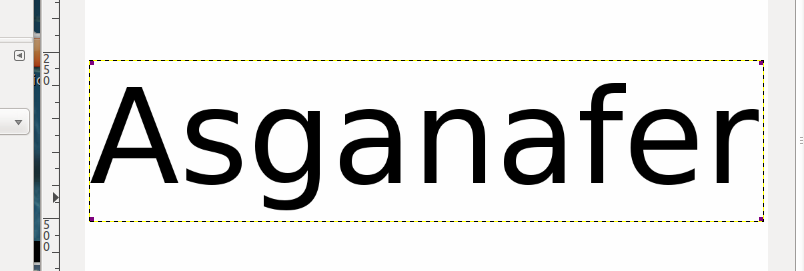
Select “Text” and write something, then resize the writing in order to fill the whole document.
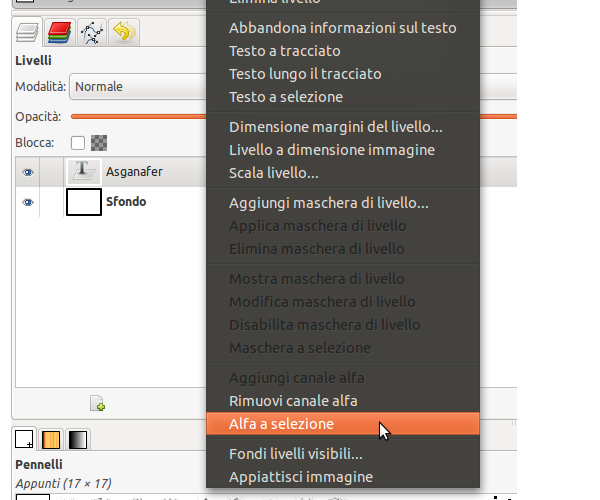
Go on layers, position the cursor on the writing and right – click —> Alpha to selection in order to select all the letters of the text.
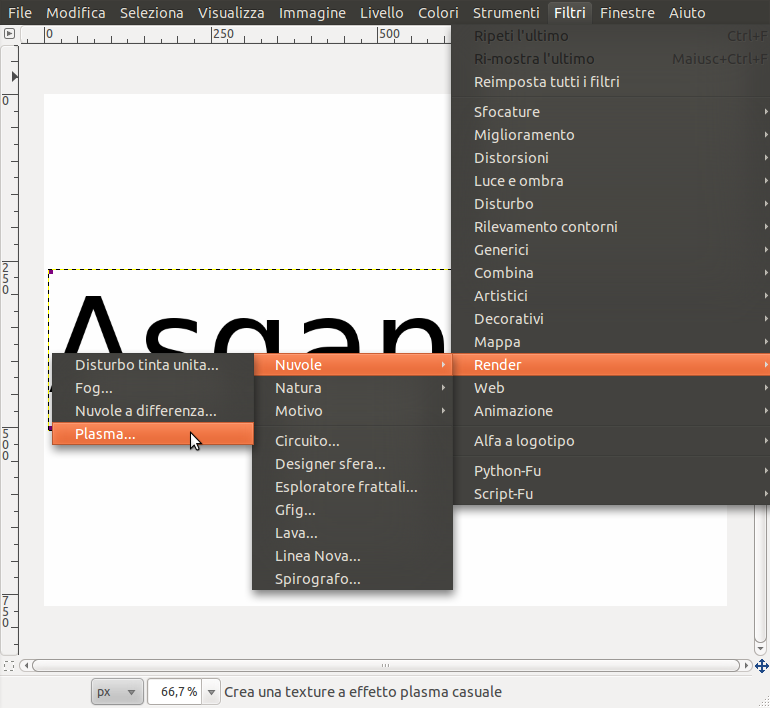
Filters —> Render —> Clouds —> Plasma and click ok. This effect is necessary to create ice hints.
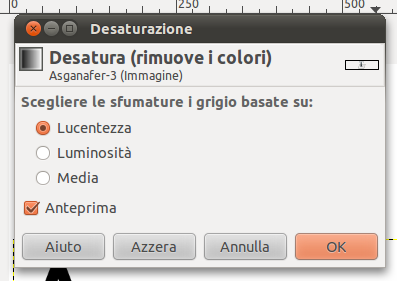
To color the writing evenly, click on Colors —> Desaturation and check “Sparkle“, click Ok.
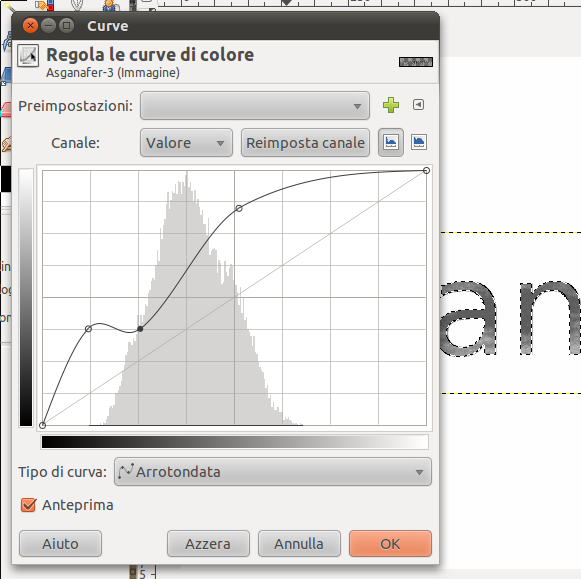
Colors —> Curves, a form with a chart and a line will appear: move the line that crosses the chart in order to change the color tone of the writing (that is grey). In this case there are not precise settings to configure, once you are satisfied, click OK.
It’s time to freeze your writing! Deselect all and click on Image —> Transform —> rotate 90° clockwise, in order to apply the filter.
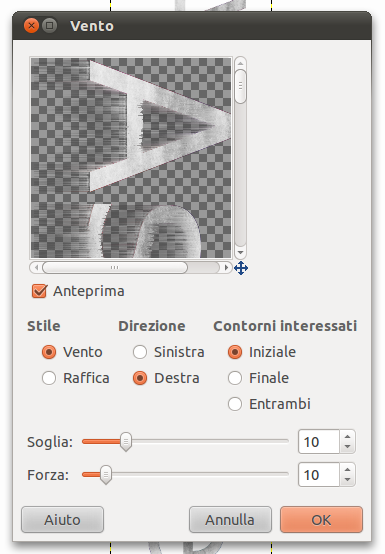
Then click on Filters —> Distorsions —> Wind and configure the options below:
Image —> Transform —> rotate 90° counterclockwise.
Then click on Colors —> Color and set light blu as color.
If you want, you can add a background that highlights the color of the ice. To realize it, click on filters —> render —> clouds —> plasma and set 1,7 as value, then add a medium desaturation).
This will be the final effect:
