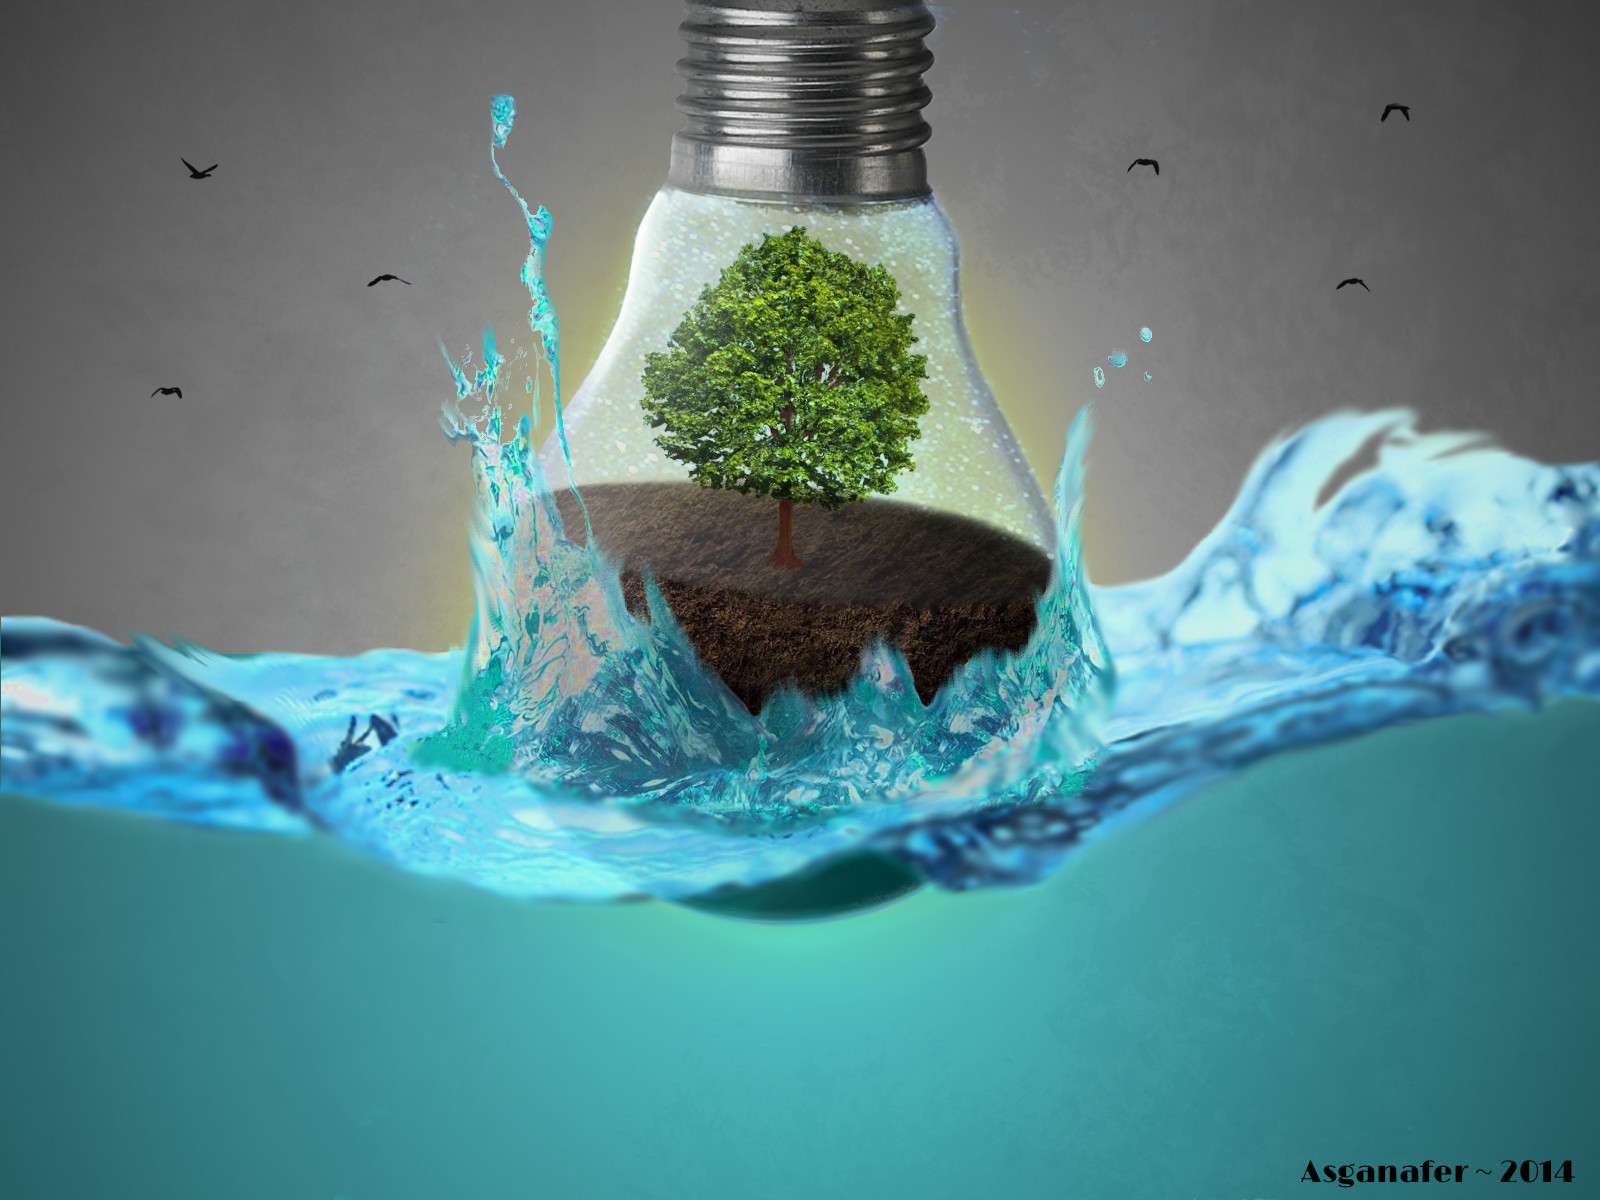
Welcome everybody! In today’s tutorial I’m going to realize a photomontage about a tree in a light bulb!
Before starting, download these materials:
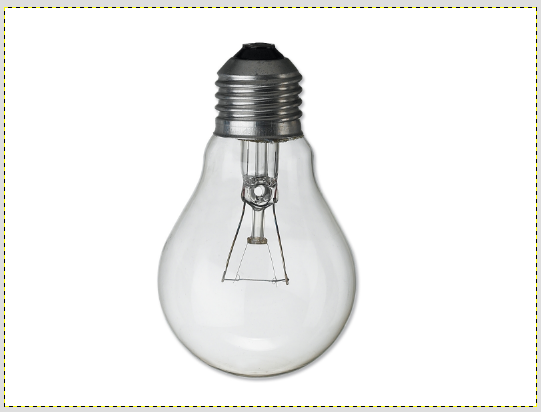
Begin by creating a new document in Gimp, I’m using a 1600 x 1200 sized document and open the light bulb image (choose the one you prefer).
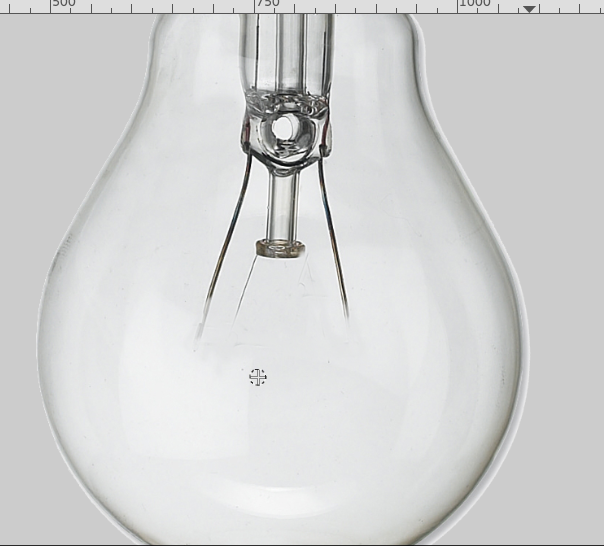
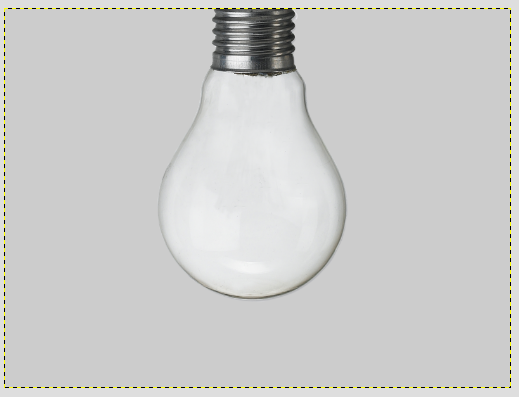
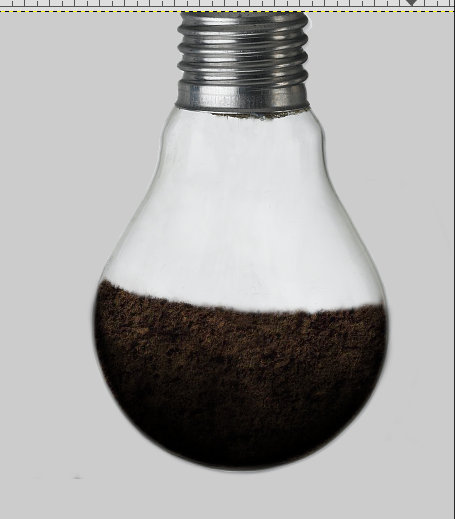
Click on the light bulb layer and delete the inner part of the light bulb with clone tool (if you need to block out the image use a layer mask). Fill the background layer with a light grey color in order to better see the light bulb.
This will be the result:
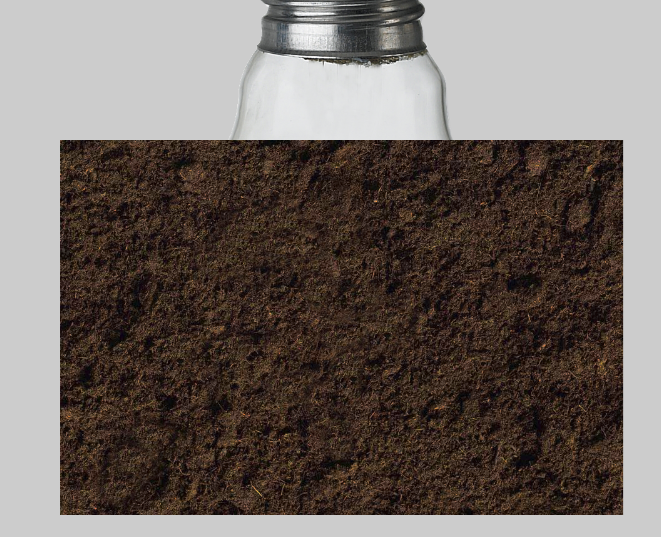
Then create a new layer and open the image of a plot of land: it will be dirt at the bottom of the light bulb.
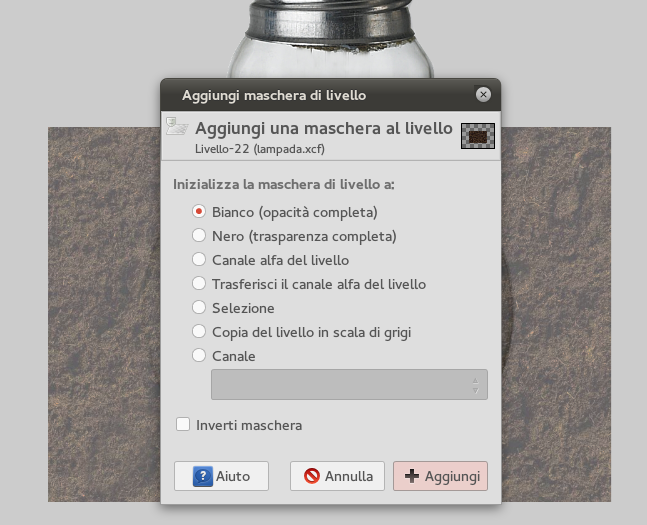
Right – click—> Add layer mask
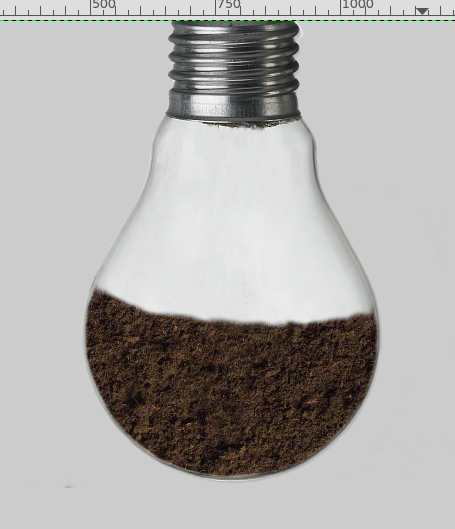
Using the layer mask, delete the dirt around the light bulb like in the image below:
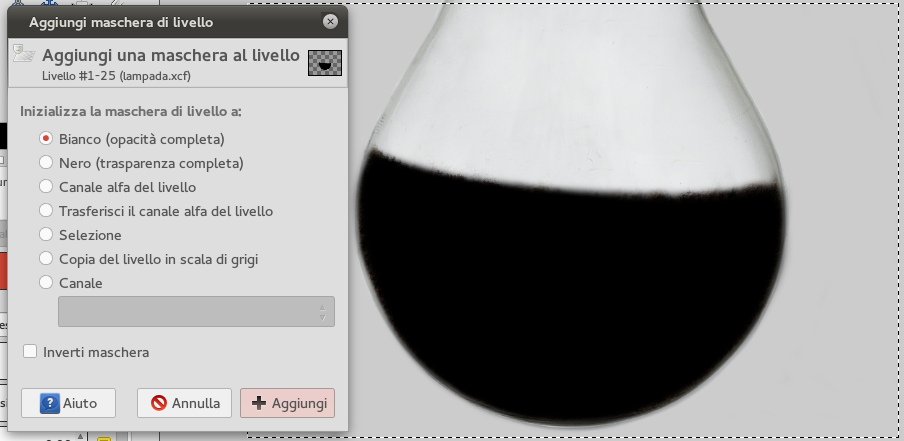
Create a new layer and color with black around the dirt made previously. Then right – click—> Add layer mask.
Give a shadow effect to the lower part of the light bulb with gradient tool, the outcome should be similar to the image below:
In this way the image will have a three – dimensional effect.
Now go buyng seeds, plant them and grow a beautiful tree in the light bulb ( don’t forget to water it!)
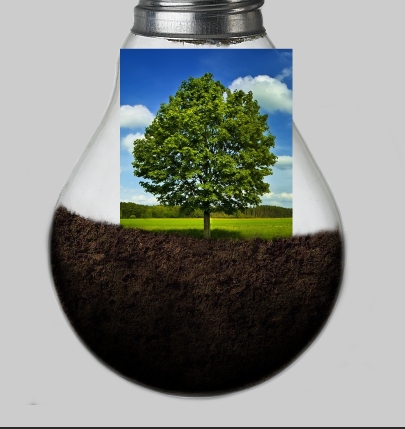
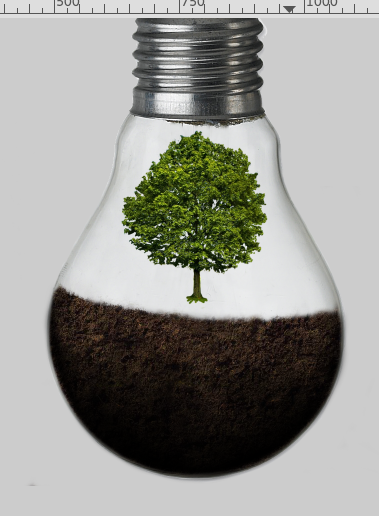
Block out the tree image (on a new layer) with a layer mask and position it above the soil layer.
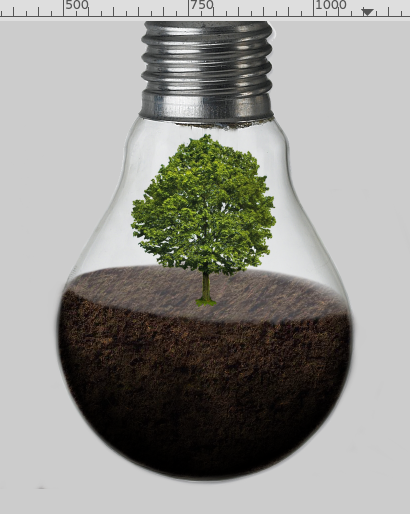
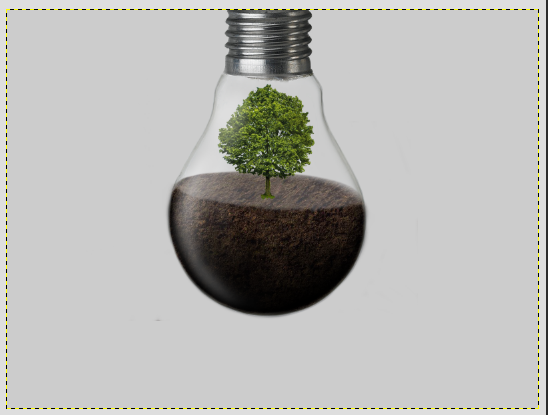
The next step consists of filling the remaining part of the light bulb: create a new layer (and fill it with the dirt image used previously), then tilt the image with tilt tool in order to give depth to the soil. Delete extra parts with a layer mask. Set opacity to 80% and you will get this:
If you look at the metallic part of the light bulb, you can see that light comes from left. So create a new layer, select brush tool (white color, brush opacity = 10%) and draw light on the left part of the light bulb.
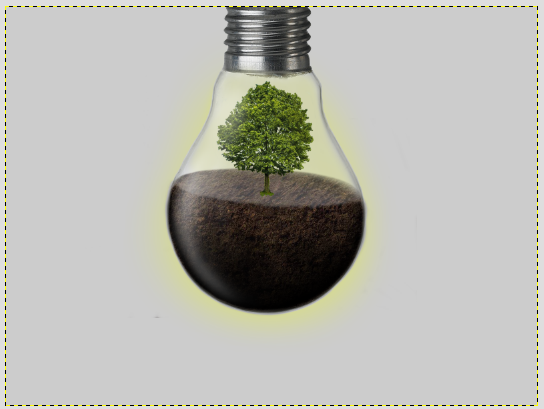
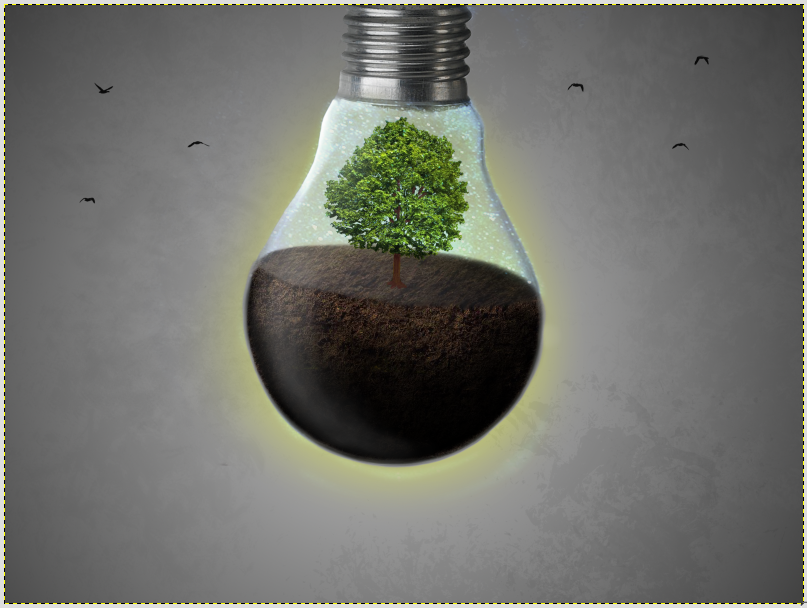
Create a new layer over the background and create an halo with color #fff000 around the light bulb. Light should be also behind the light bulb: color the light bulb layer mask in yellow using brush tool with opacity = 20%.
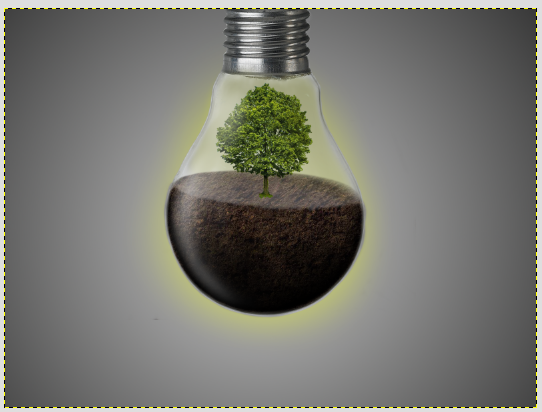
Apply the gradient tool (radial mode) to the background layer with colors #c4c4c4 and #605f5f.
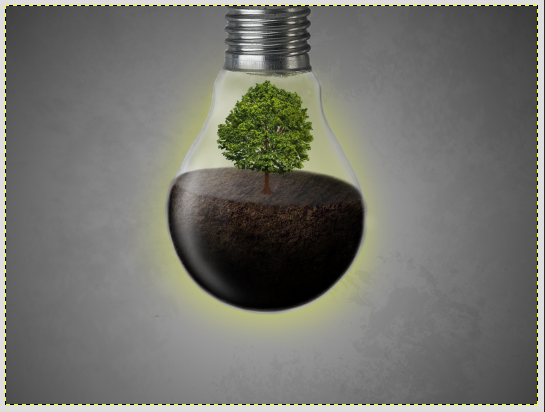
Select brush tool with grunge mode in order to dirty the background, color = #646464.
It’s time for details: create some birds outside and some stars inside the light bulb. Concerning the birds, create a new layer and draw them with the brushes downloaded at the beginning of this tutorial.
To realise the stars, create a new layer under the tree layer and draw the stars with brush tool “Hardness 050” (color #94bbdf, layer opacity = 50%).
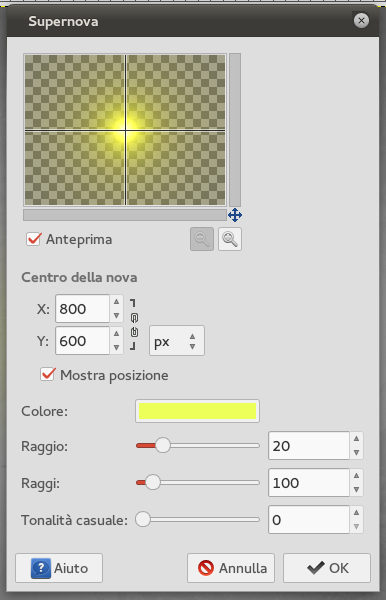
As last step, add some bright rays from the light bulb! Click on Filters—> Light and Shadow—> Supernova and configure the settings below:
Position the layer just created over the background layer.
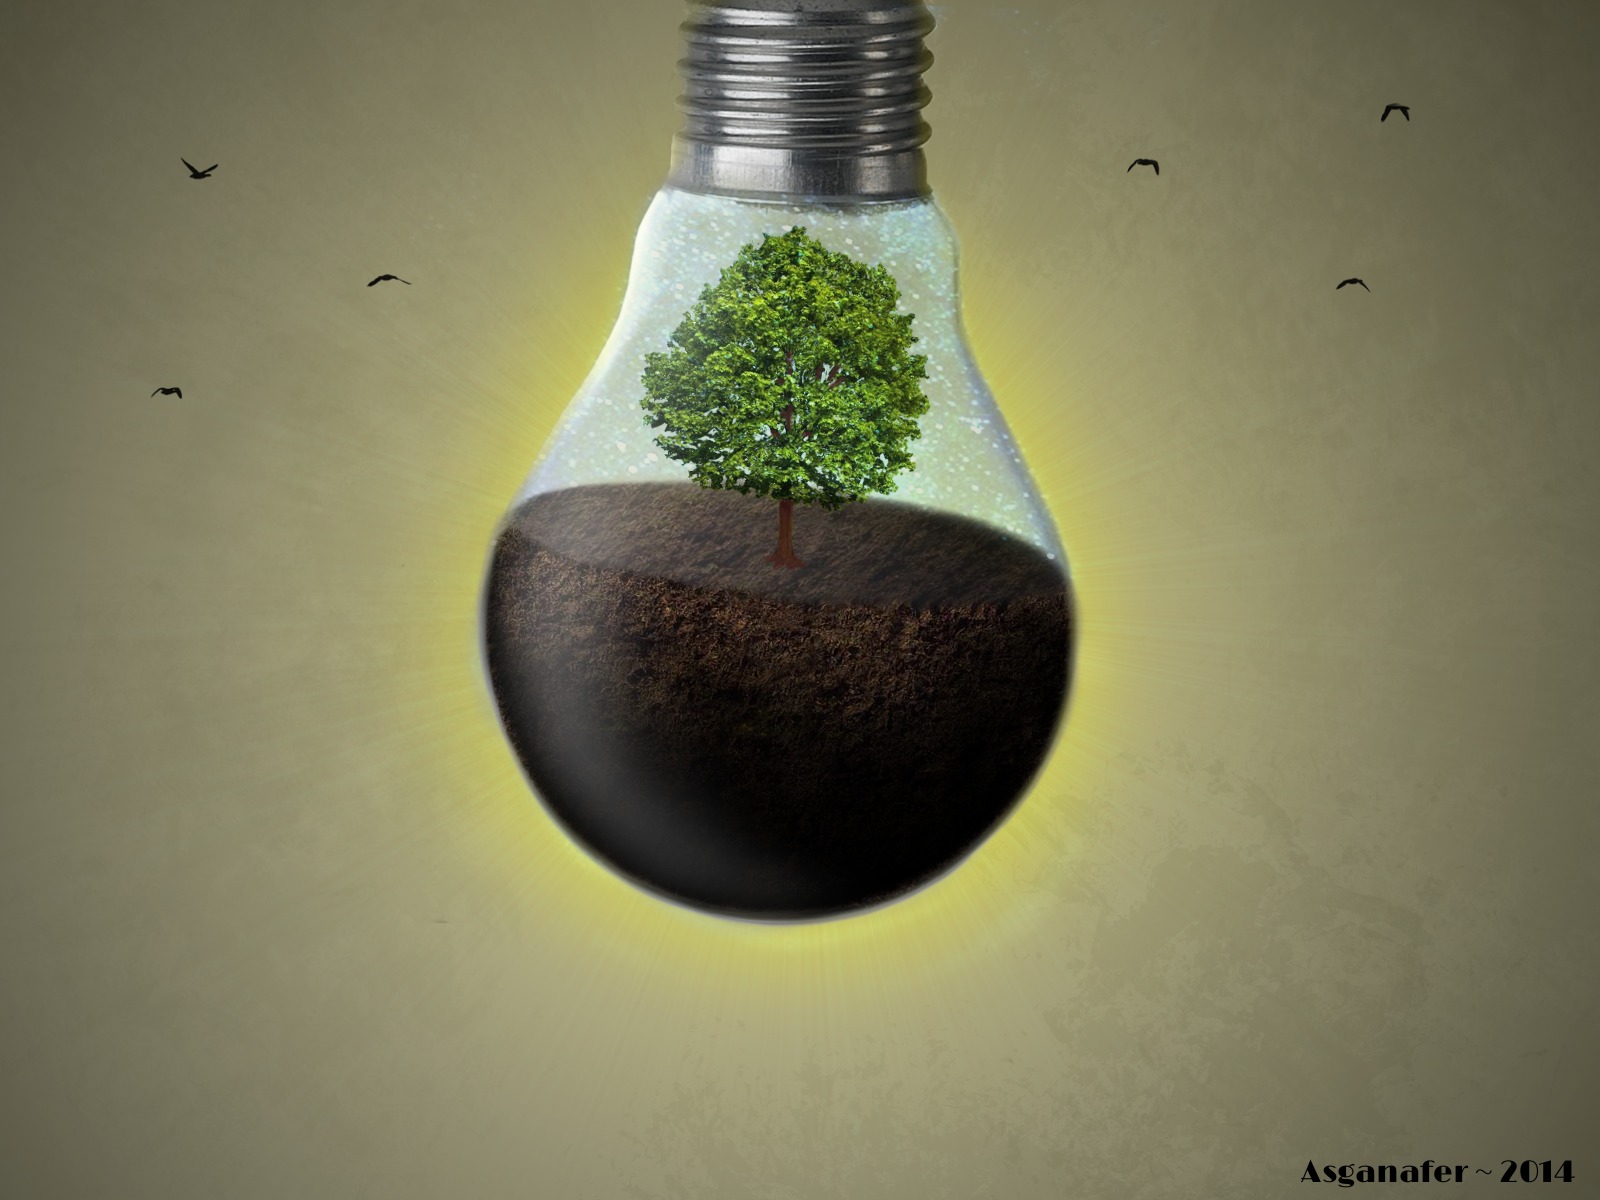
This will be the final outcome:
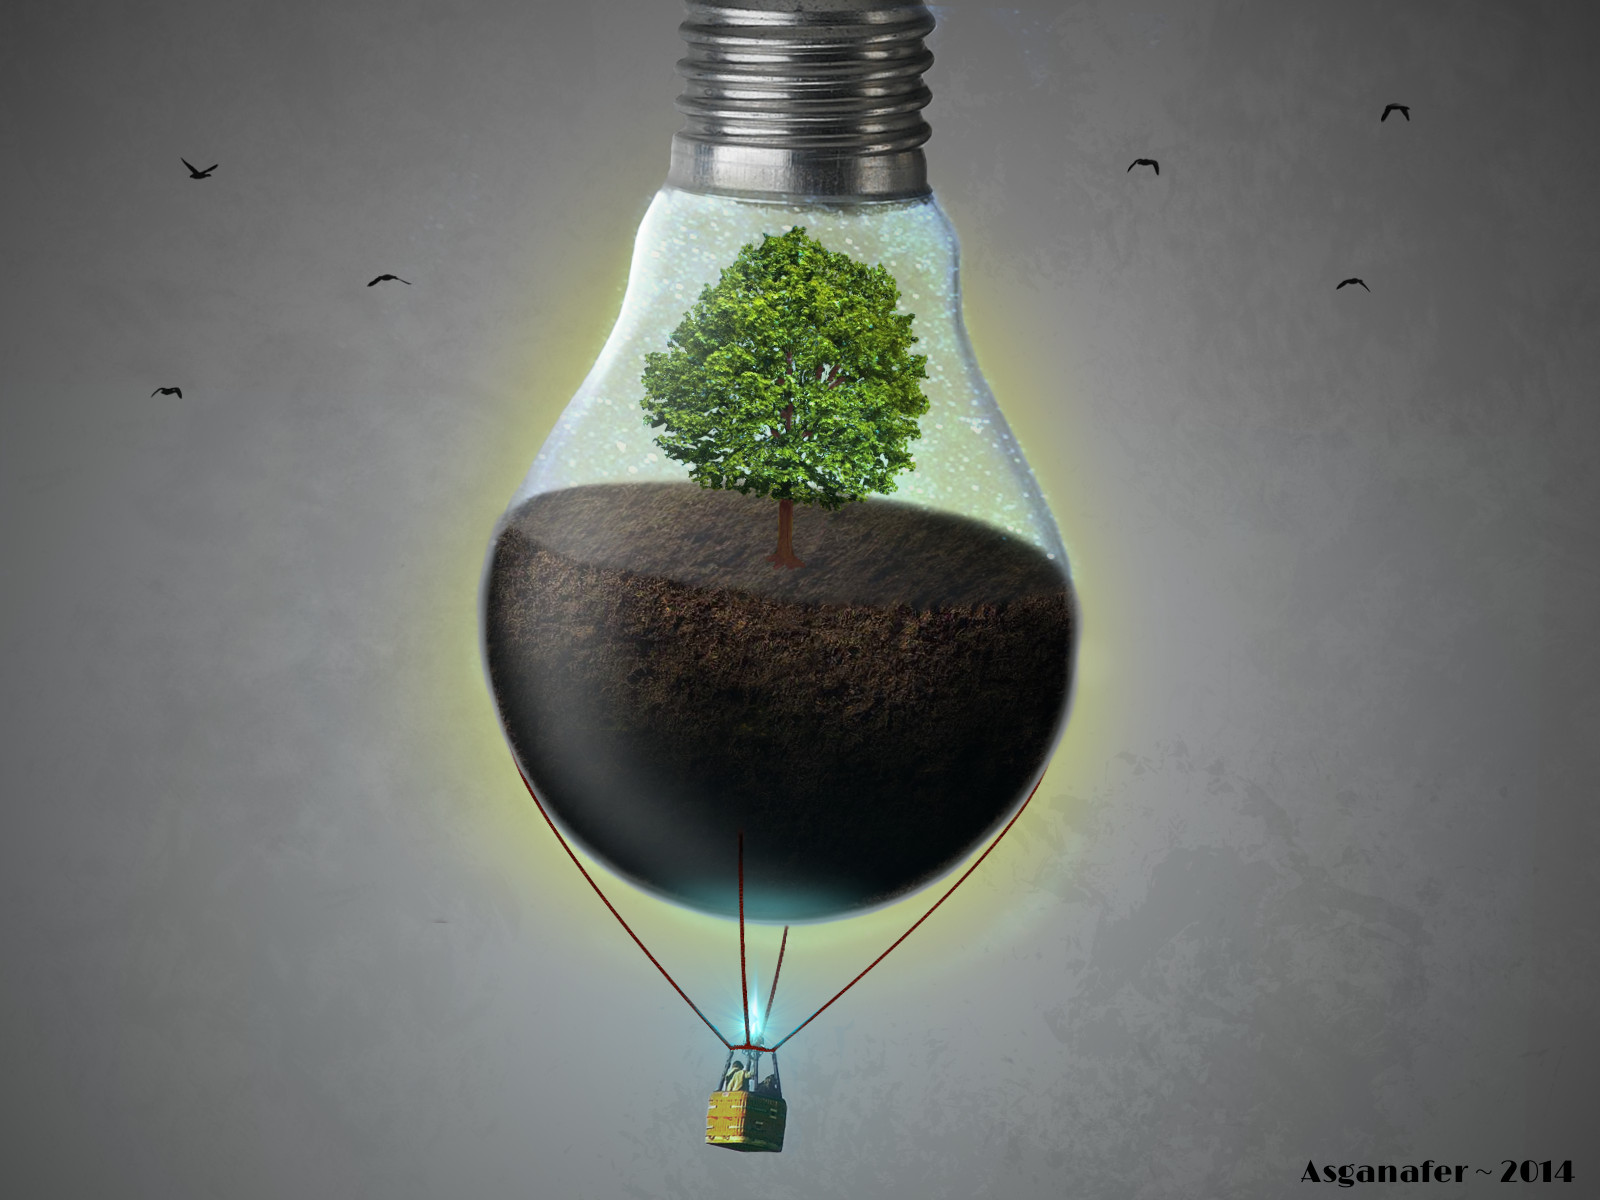
These are other examples that you can realise:
