In today’s tutorial we will realise a writing with a light and shadow text effect!
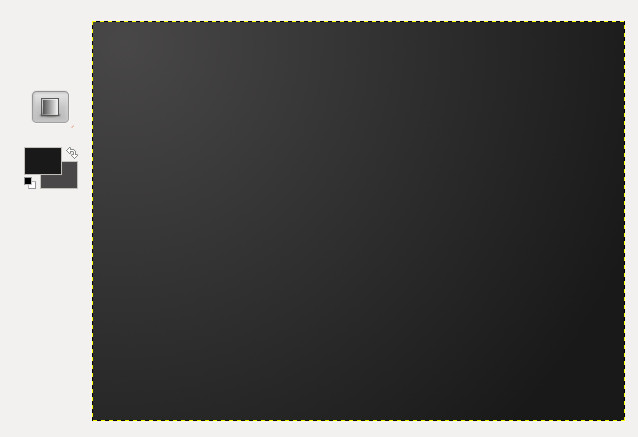
First open up a new Gimp document, I’m using 1600 x 1200 px sized document, but you can choose the size you prefer. Set #494848 as primary color and #191919 as secondary color, then create the background with gradient tool, trace the gradient line from right to left in this way:
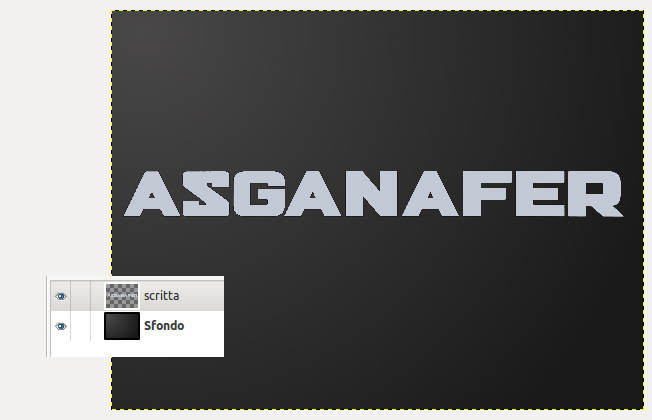
Create a new transparent layer called “writing”, be sure to position it over the background layer. Then select text tool and write something (I will write “Asgaafer”) with color #c2c8d4.
Now you have to rasterize your writing, in other words, you will transform it in an image: position the cursor over the layer just created and right – click –> blend down, the writing will blend with the layer “writing”.
Now position the cursor on the layer “writing” and right – click –> Alpha to selecion, this function allows us to automatically select anything that is not transparent, in the case the writing only.
Create a new transparent layer over the writing and call it “shadow”, then color it with the brush, thanks to the selection you can color only inside the borders of the writing. Select the move tool to move a few pixels down the layer “shadow”.
Position the layer “writing” over the layer “shadow”, in order to get this:
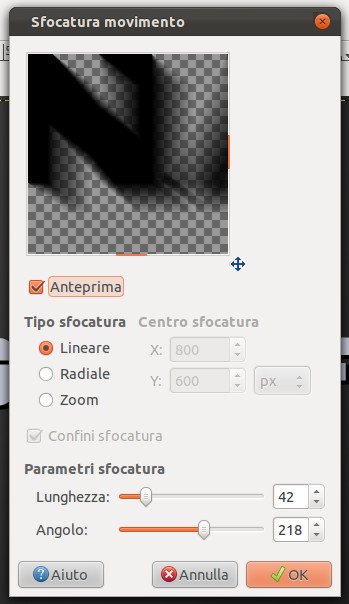
Click on Filters–>Blur–>Moviment and configure the options in the image below:
Keep in mind that the corner is the area from where light comes, in this case it is at the top left. Set opacity to 50%.
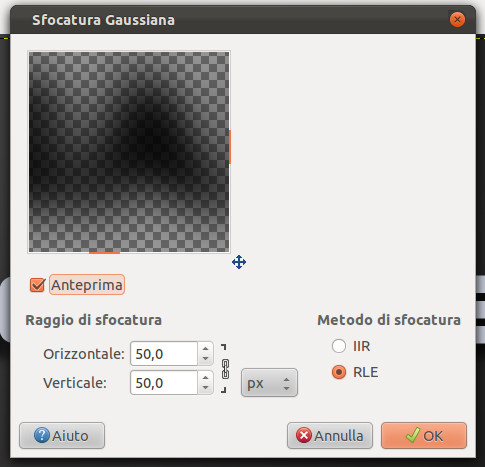
Duplicate the layer “shadow” and, for one of them, click on Filters–>Blur–>Gaussiana, setting the blur range to 50px.
The last step to complete the shadows consists of applying a gradient to rhe writing! Set the two primary colors to #495a79 and #c2c8d4 (the color of the writing), right – click—> alpha to slection (to the layer “writing”) and apply gradient tool based on the light direction. You should get a similar outcome:
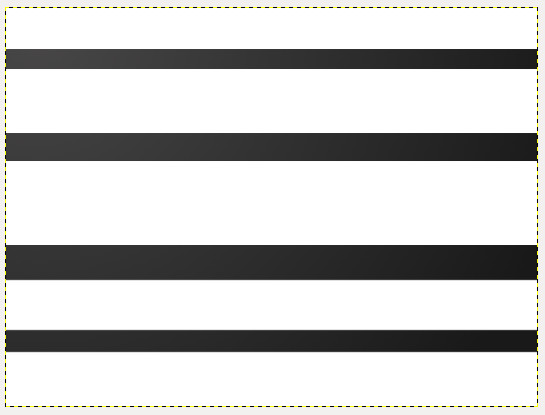
Now it is time for light! Create a new transparent layer called “Light” and position it over all the others. Create two white beams of light with selection tool:
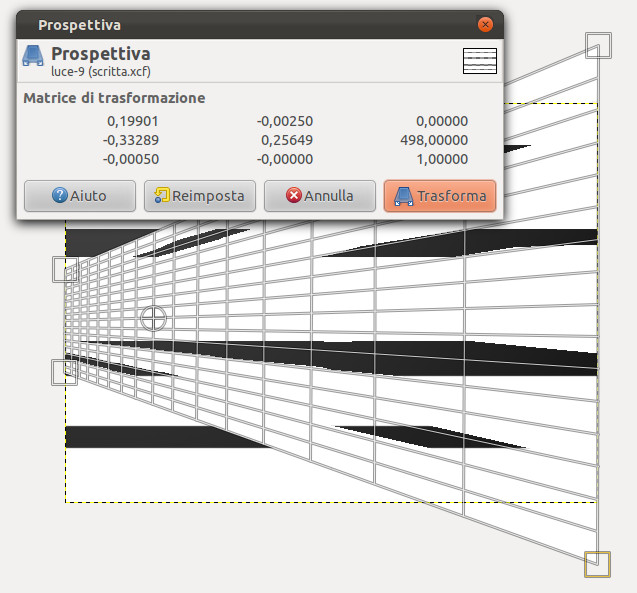
Now select the perspective tool in order to distort the rays as in the image below:
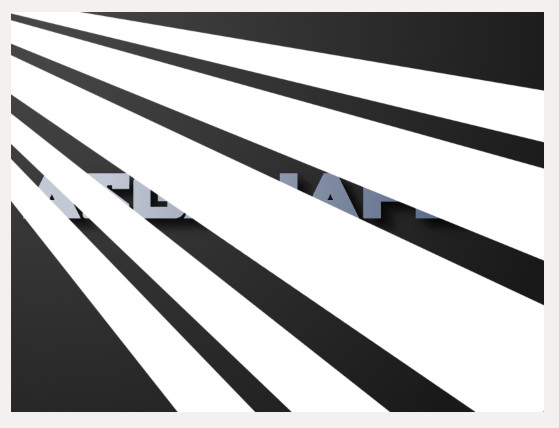
Now you have to rotate the rays in order to make them come from the source of light (in this case at the top left). Do it using the rotation tool.
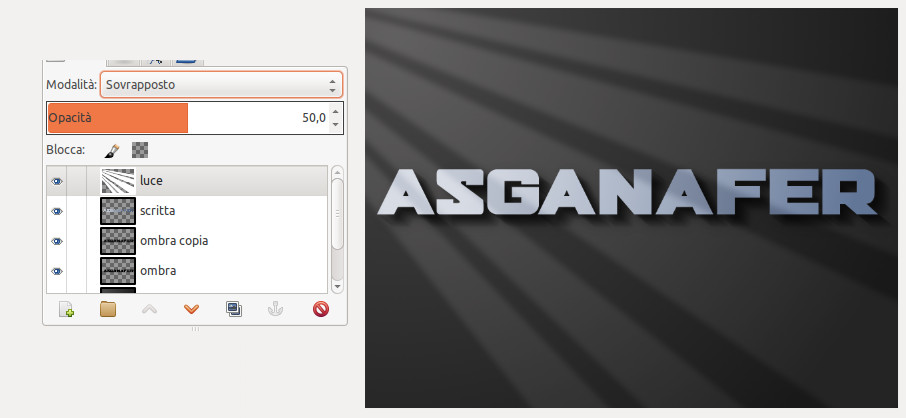
At this point, modify opacity to 50% and change mode from “Normal” to “Overlaid”, then click on filters–>Blur–>Gaussiana with blur range = 30.
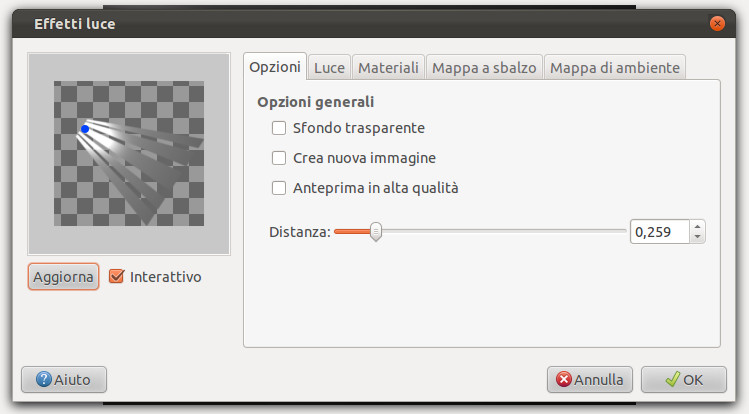
We have almost finished. On the layer “lights”, click on filters–>Light and shadow–> Light effect and configure the settings below:
Finally, duplicate the layer “writing” to give a tridimensional effect: right – click–> Alpha to selection and color with white color. You should have a white writing over the original one.
Move the white writing a few pixels toward the light, then position the layer under the original writing one. This is the final result:
