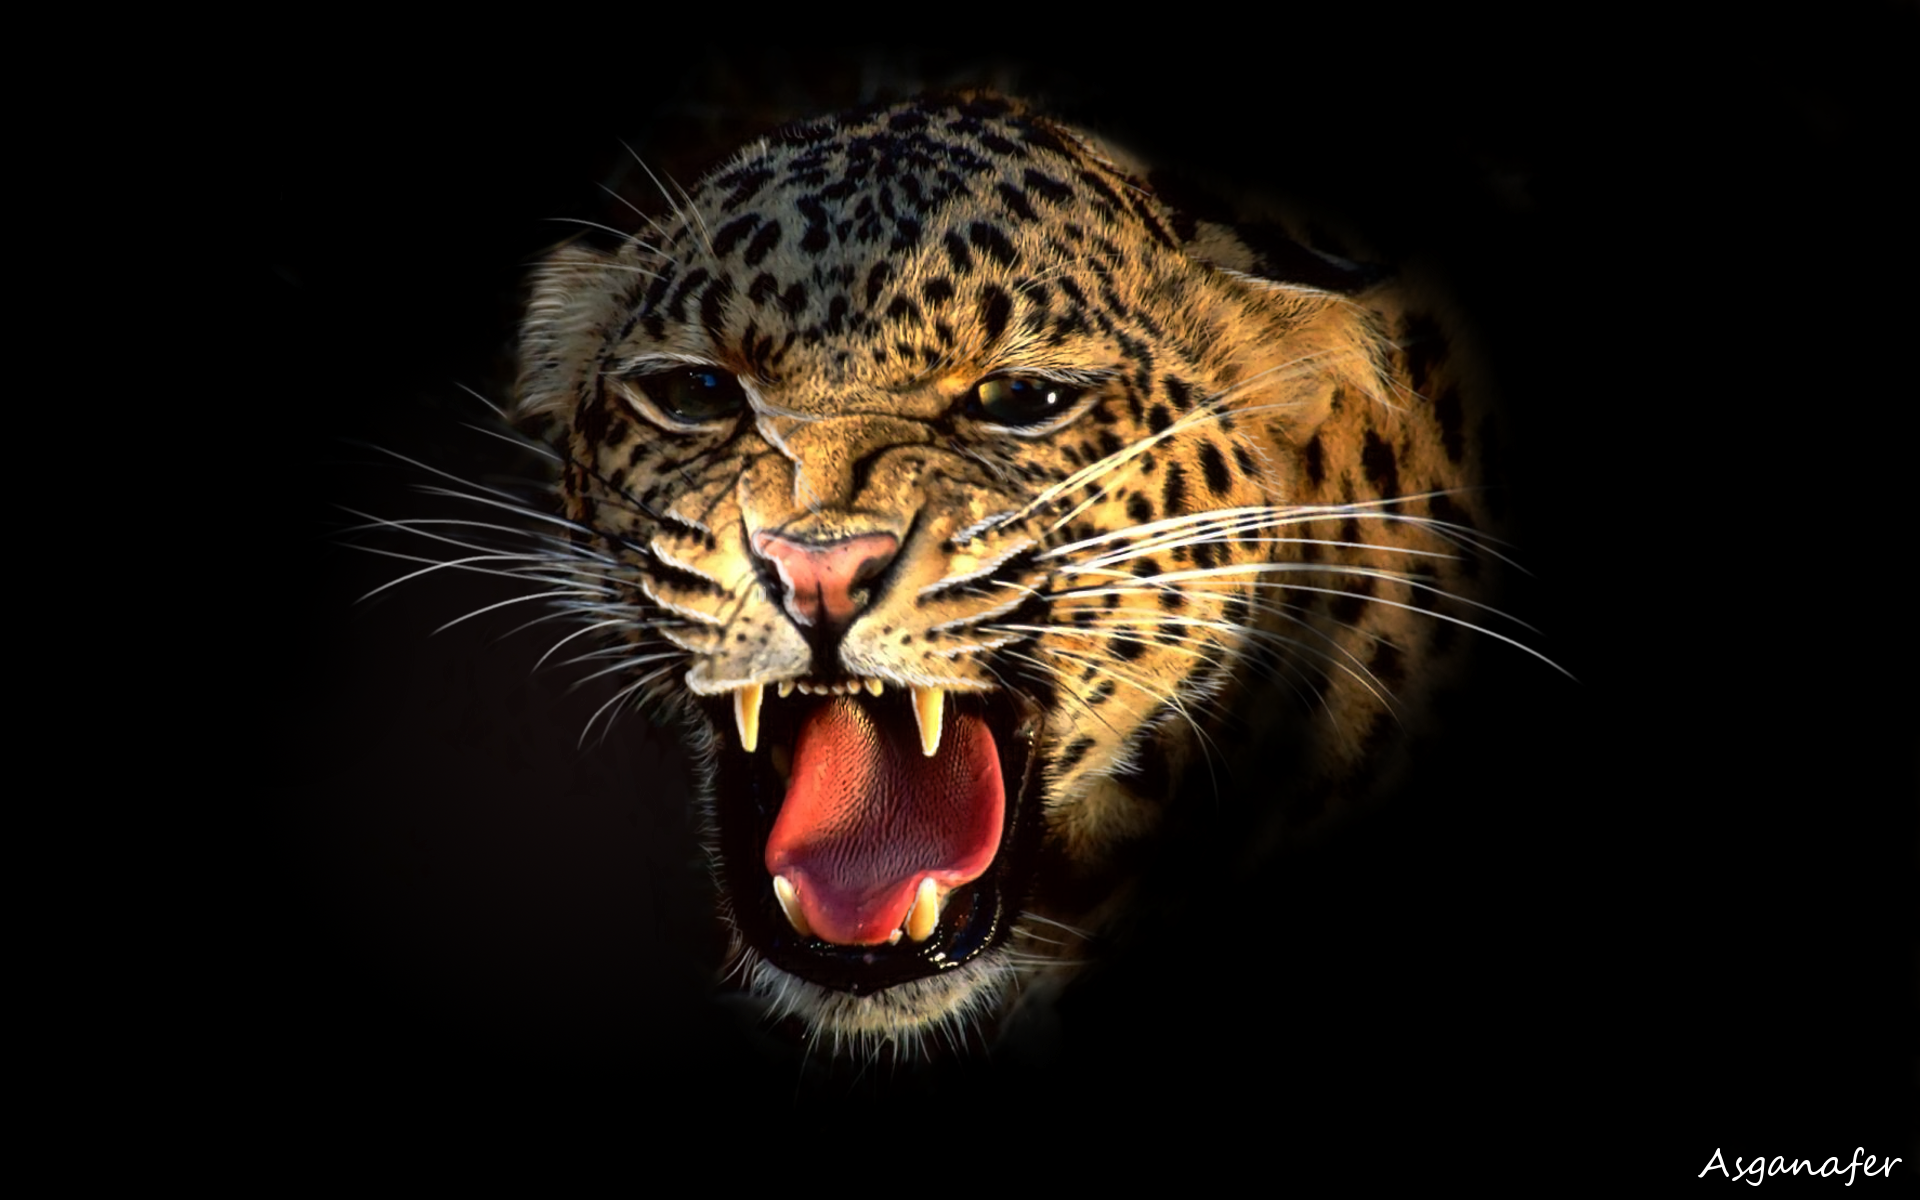
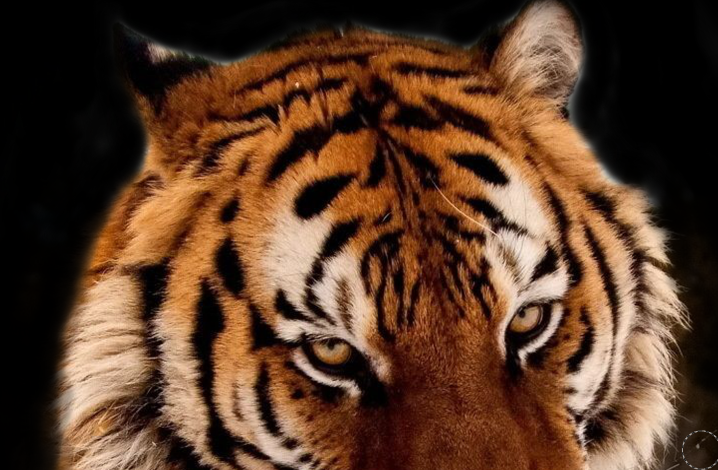
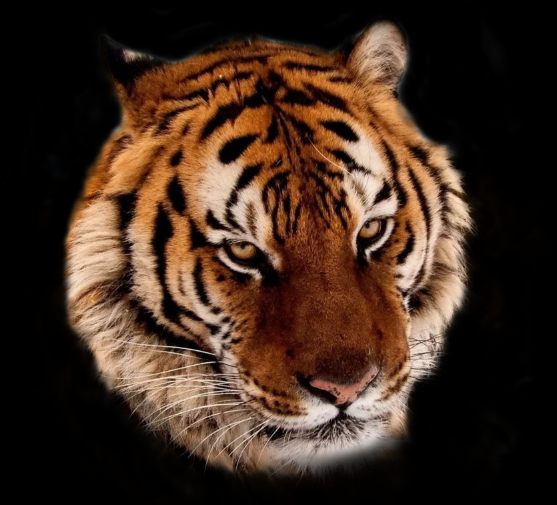
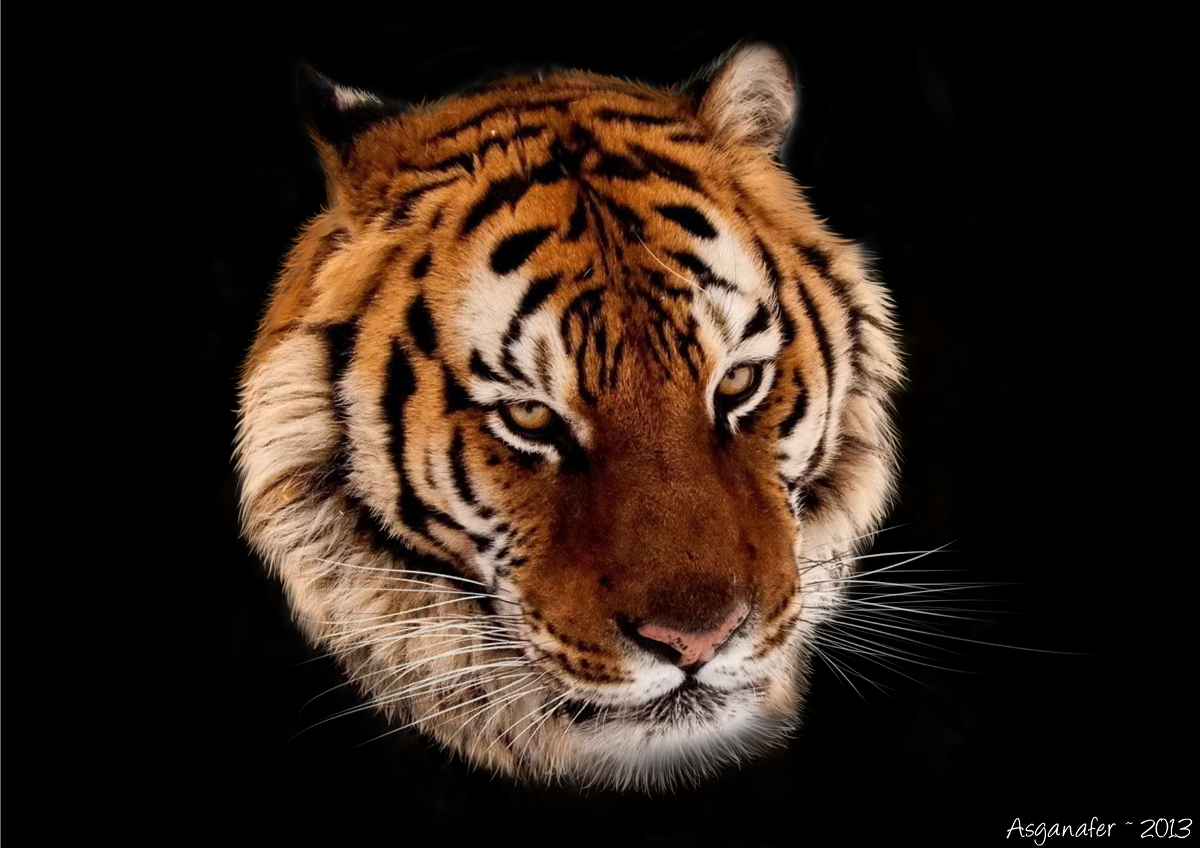
In today’s tutorial I’ll take you through the step by step process of creating a wallpaper starting from a basic photo of a tiger.
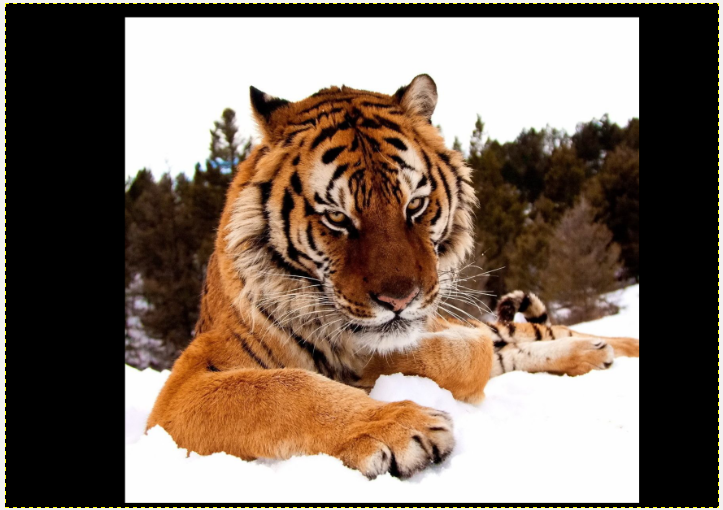
For this tutorial I suggest to use the graphics tablet. As first step, create a new document in Gimp, set the dimensions you prefer, and open the tiger image.
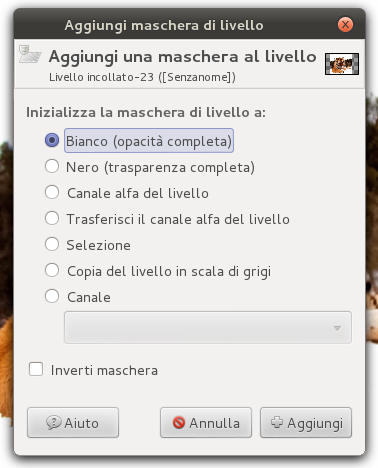
Right – click on the tiger layer and click on add a layer mask, with white full opacity mode.
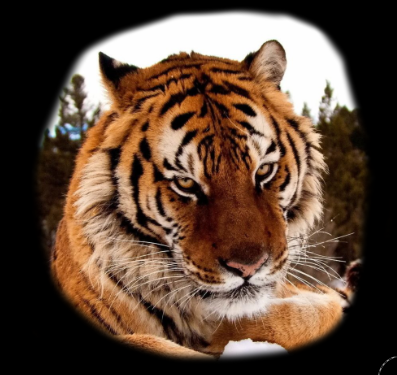
Select the brush tool and color around the tiger: you can’t see where you are coloring because of the layer mask.
When you are close to the face of the tiger, regulate opacity to 50 in the tool settings.
Reduce opacity again and resize the brush dimensions for better accuracy.
The result should be similar to the image below:
It’s time to use the graphics tablet: select the fur color as color (from the original photo), the default brush in Gimp “2. Hardness 075” and “Pen Generic” as dynamic in order to create a fur effect.
Remember not to draw all the hairs in the same direction to give an original and realistic effect to the fur.
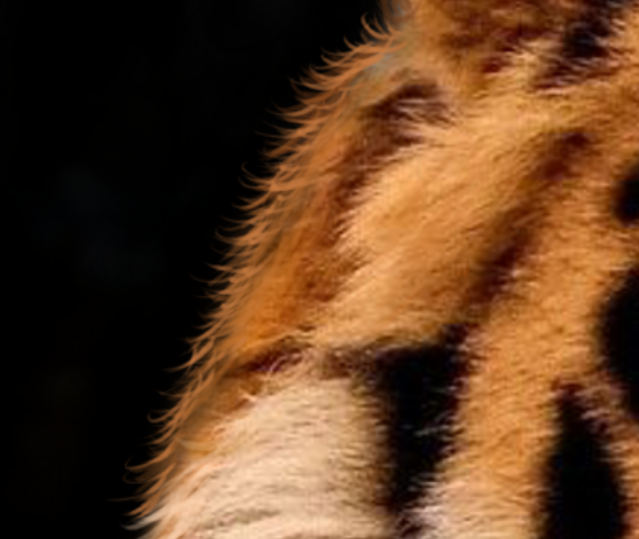
In this section, the fur is not much realistic: adjust it by reducing the brush opacity until there is no difference between the hairs just made and the fur in the photo.
In this image you can see hairs made by different color tones and different brush opacity.
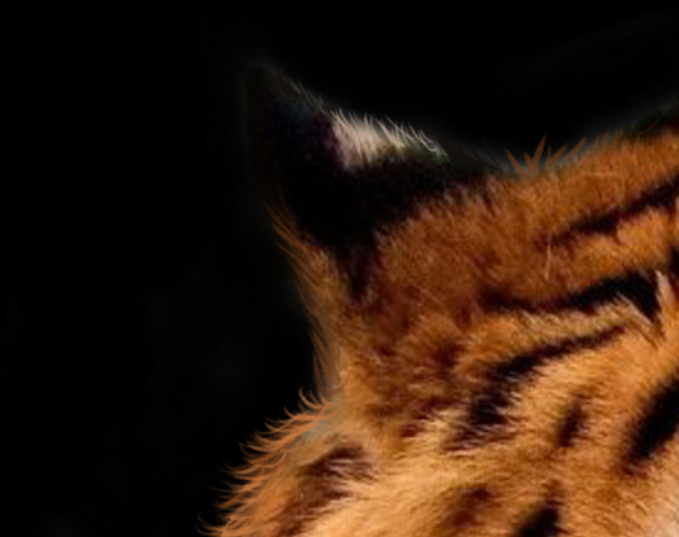
Adjust now the details. Start with the ears: select a dark grey color to distinguish them from the background.
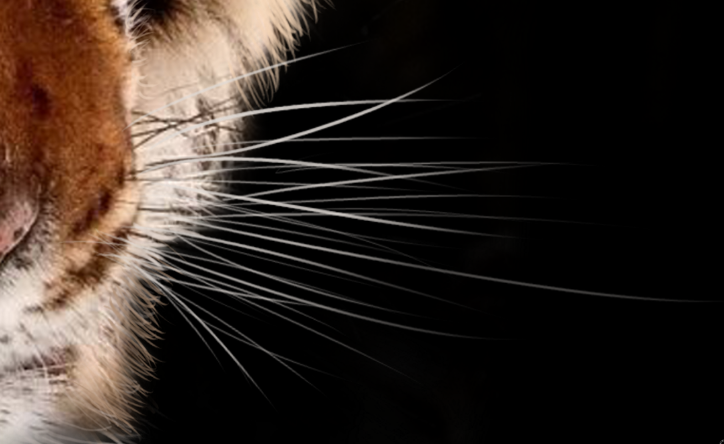
And draw the whiskers of the tiger!
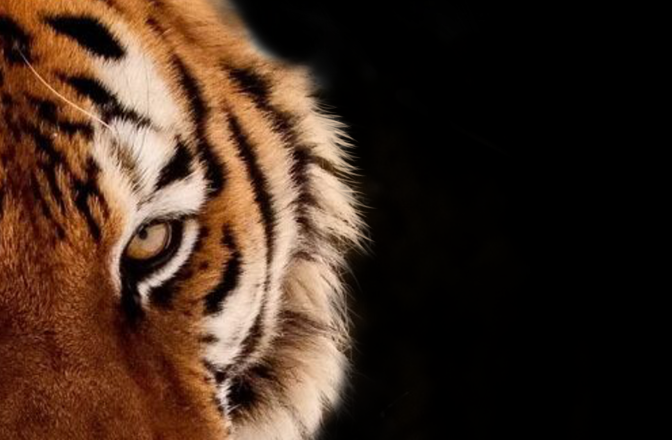
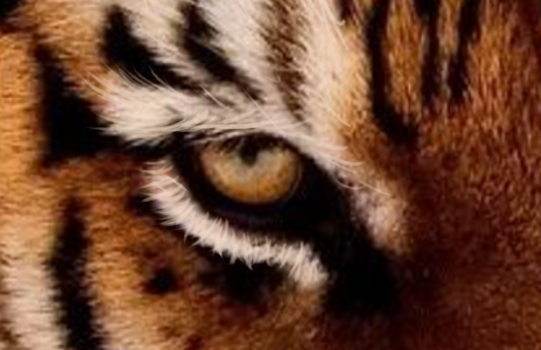
Then adjust the brighter parts of the tiger, for example the area around the eyes.
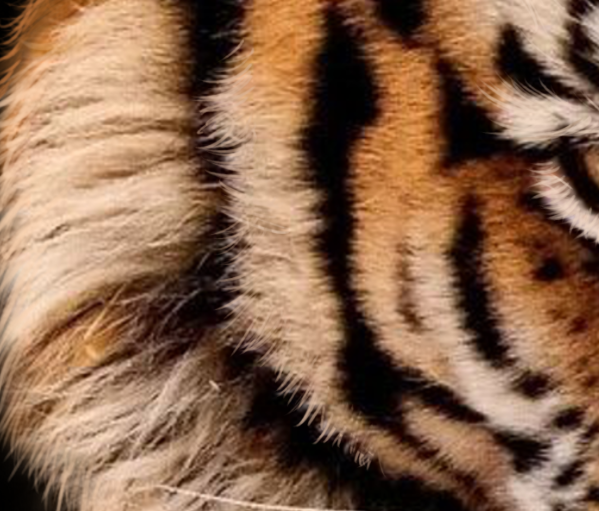
Modify also the areas where colors change.
Eventually add your signature and anjoy your artwork!
