Hi guys! In this tutorial I will show you how to create a really cool and super easy typographic image in Gimp!
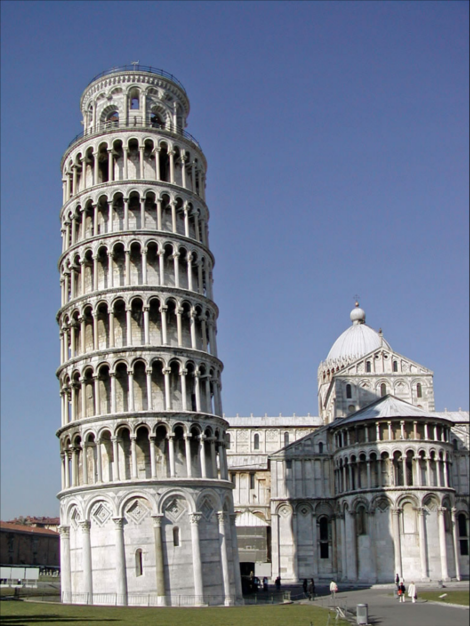
First choose a base image which you would like to convert to a typographic image (you can use the image below if you like it), and open it in Gimp.
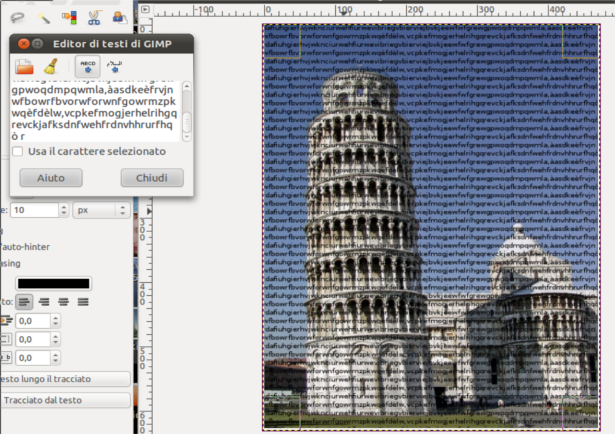
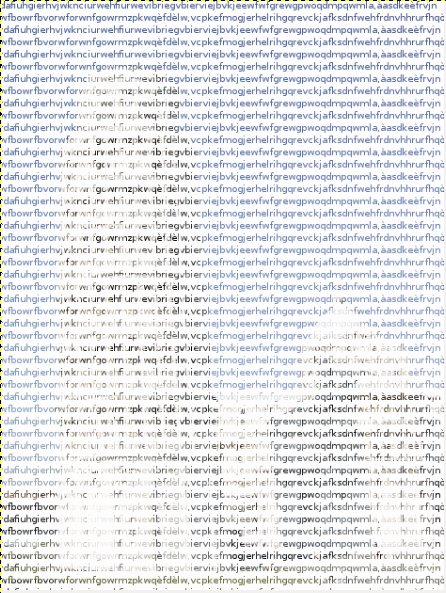
Select “Text” and draw a text box as big as your image. Write a text inside the text box and copy it over and over until you have filled the whole image.
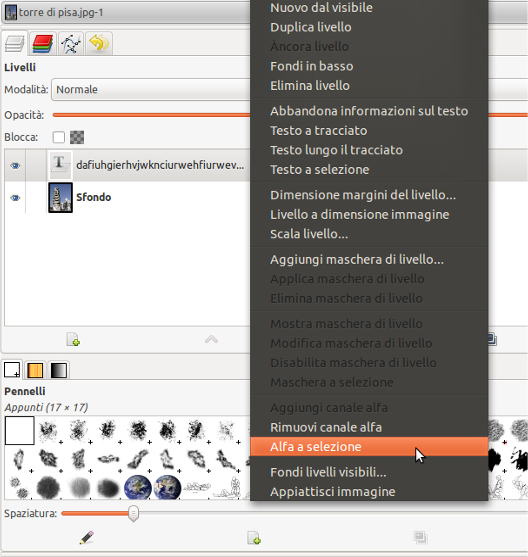
Position the cursor on the text layer, and right – click—> Alpha to selection to select all the letters of the text.
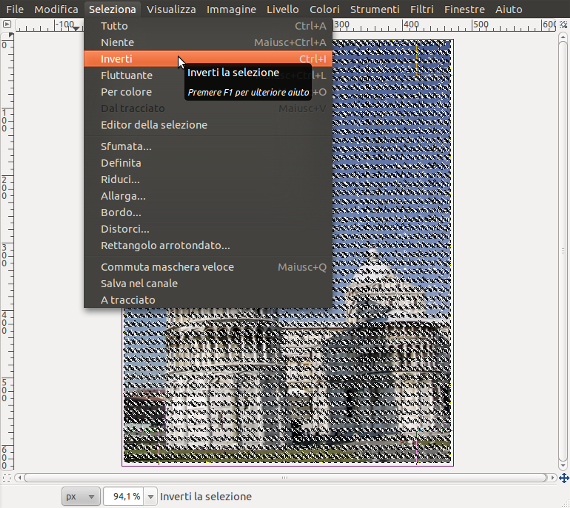
Return to the image and click on Select —> Invert to select everything apart from the text.
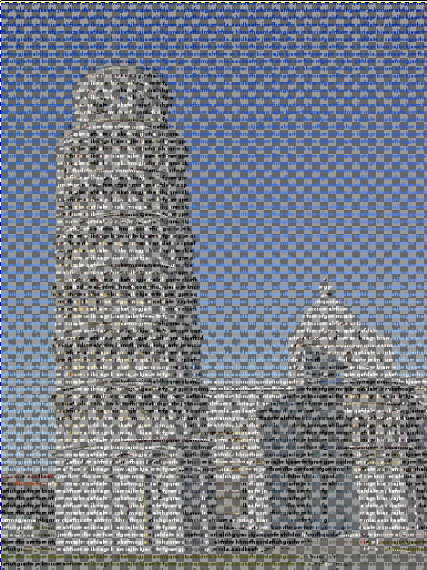
Go now on layers, position the cursor on the Tower of Pisa and click on canc. Then hide the text layer and click on Selection —> Nothing. This should be the result:
Colors —> Luminosity and contrast and set luminosity to 0 and contrast to 66.
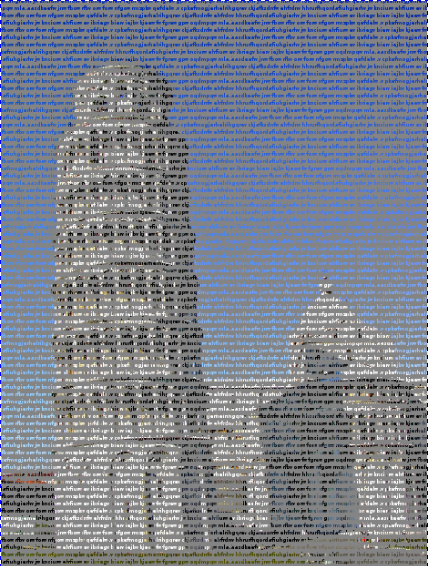
Create a new grey ( #858585 ) layer below the text draw. This will be the final outcome: